Chapters
On this page
The Ballistics page answers one question: where do I put the crosshair? The answer sits at the top, above every input that produced it. Everything below the answer exists to make the answer true.
A profile binds a rifle to a load
A Ballistic Profile is a load and a firearm joined together, plus the conditions you last solved in. The load is the projectile and how fast it leaves the barrel: weight, diameter, ballistic coefficient, muzzle velocity. The rifle adds what the load cannot know on its own: the distance you zeroed at, how high the scope sits above the bore, and the barrel twist.
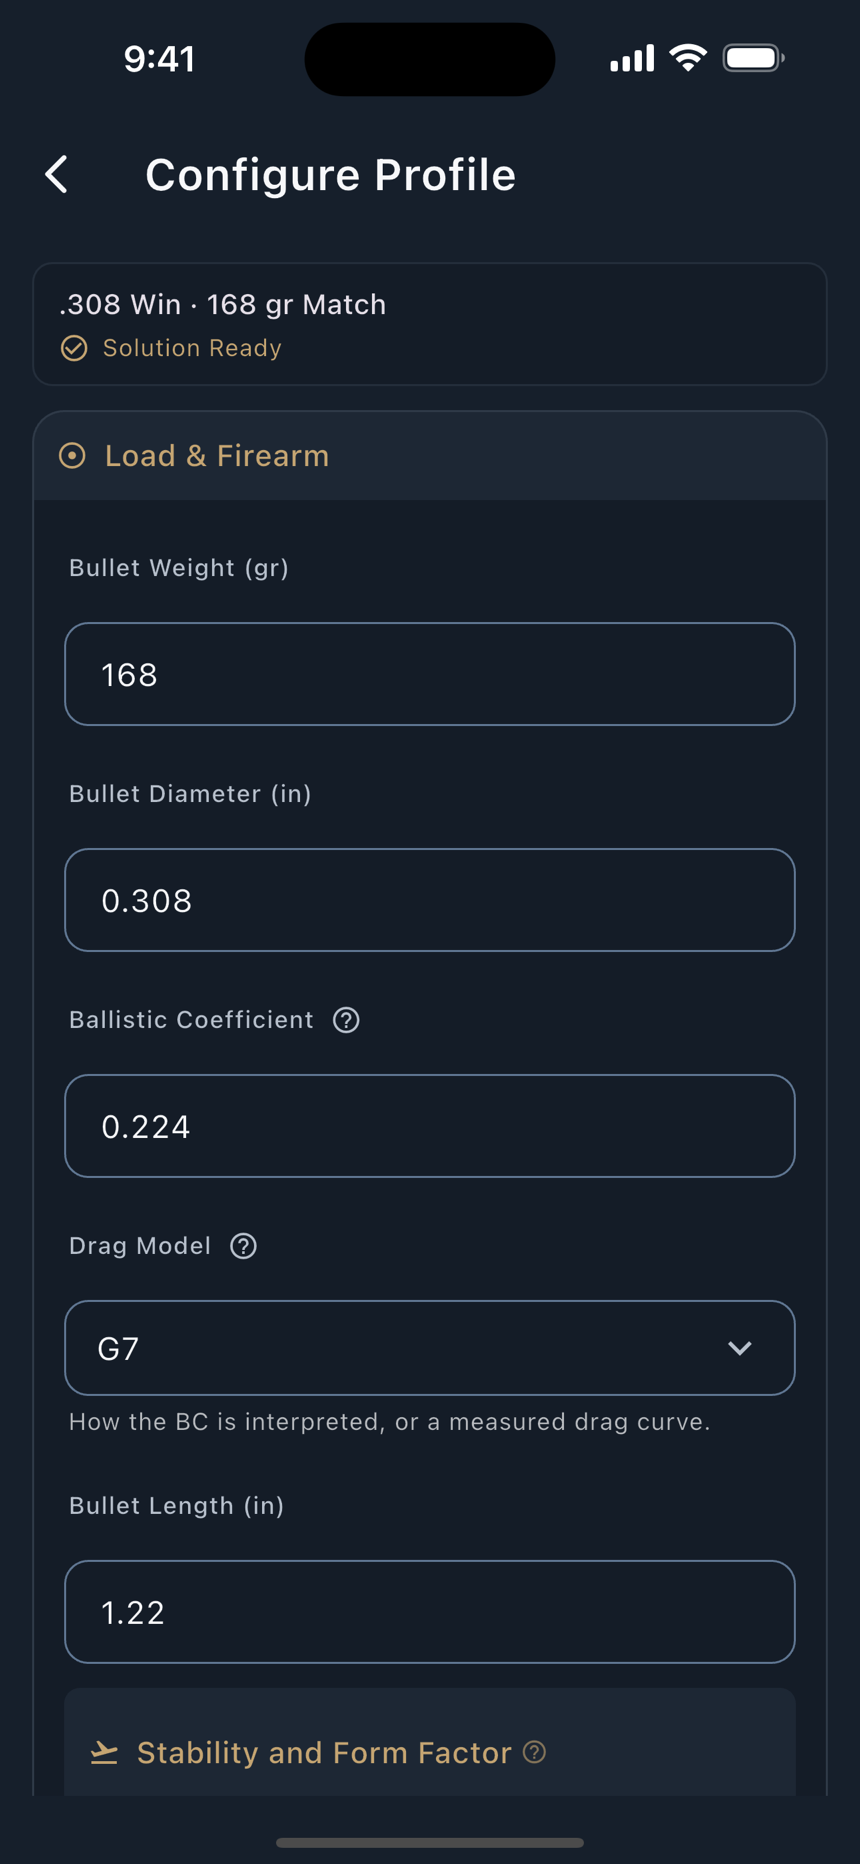
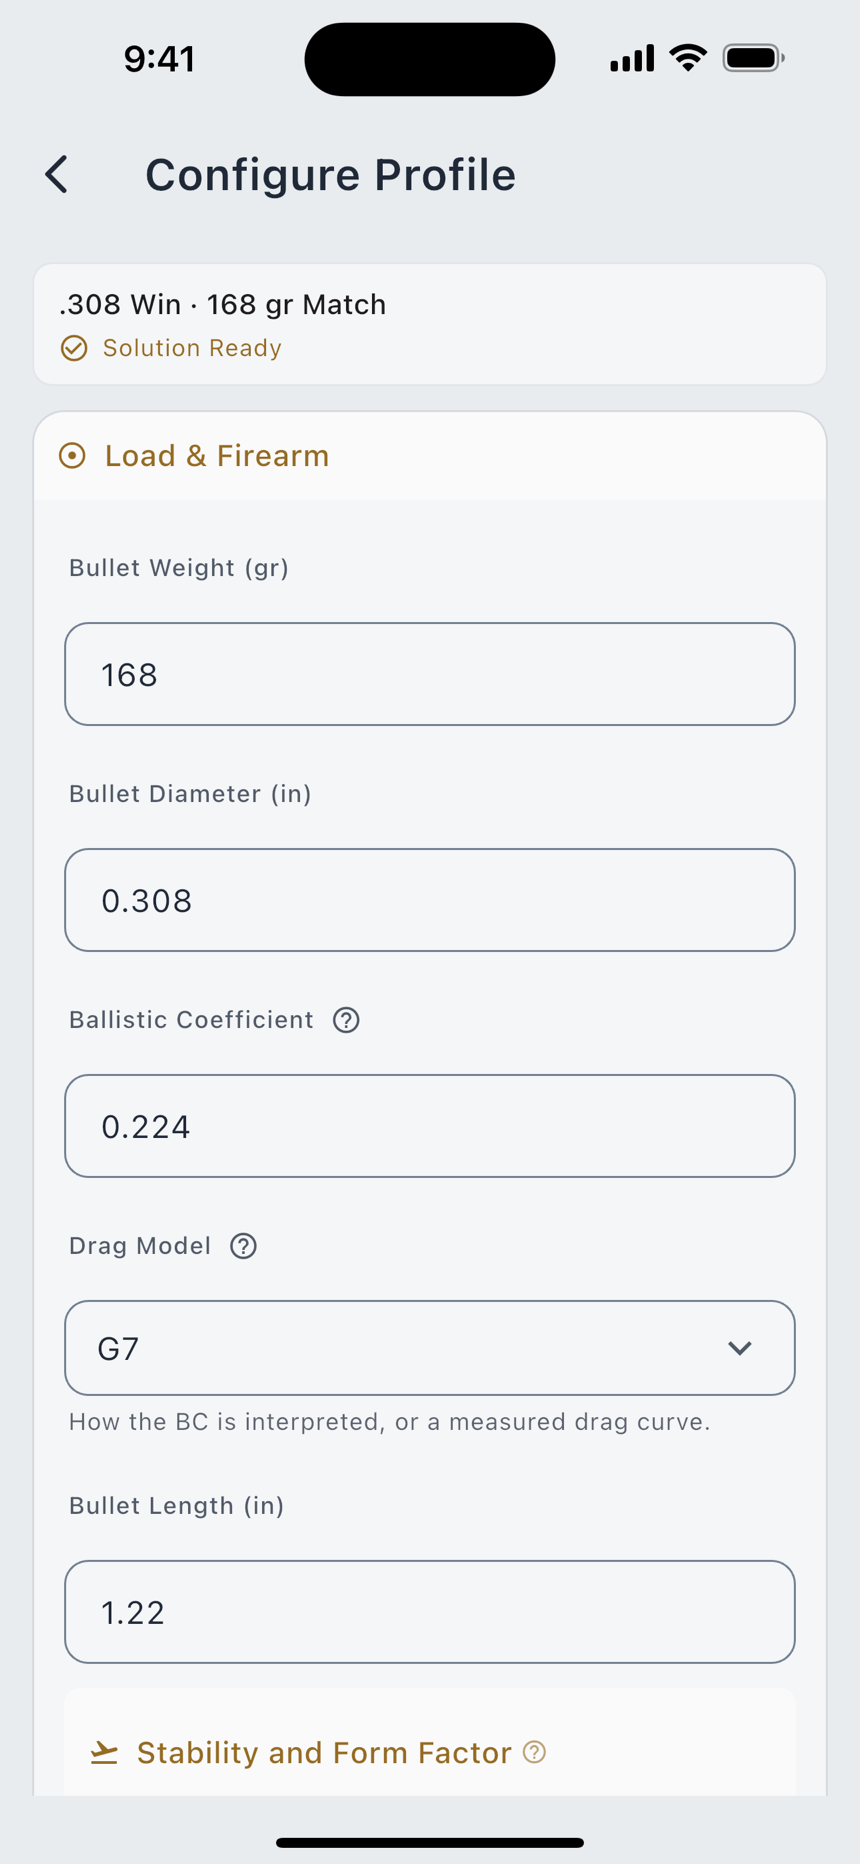
- Open the profile card. The card at the top of the Solution view carries the active profile's identity plus Configure and Clear. Tapping it opens Configure Profile.
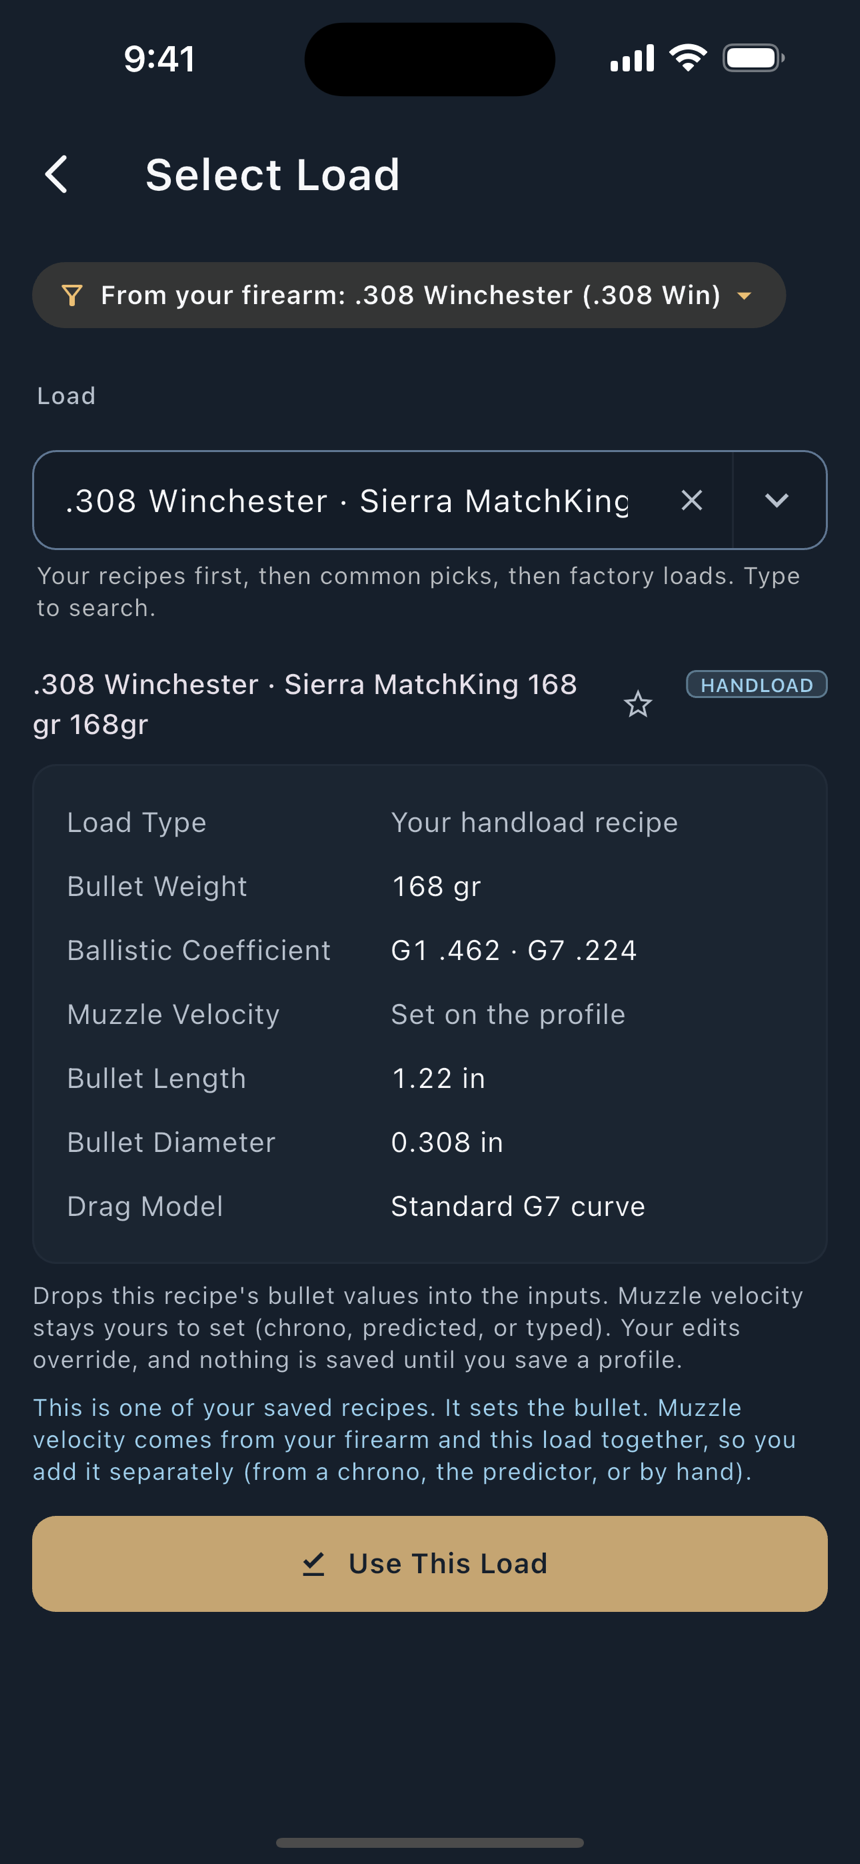
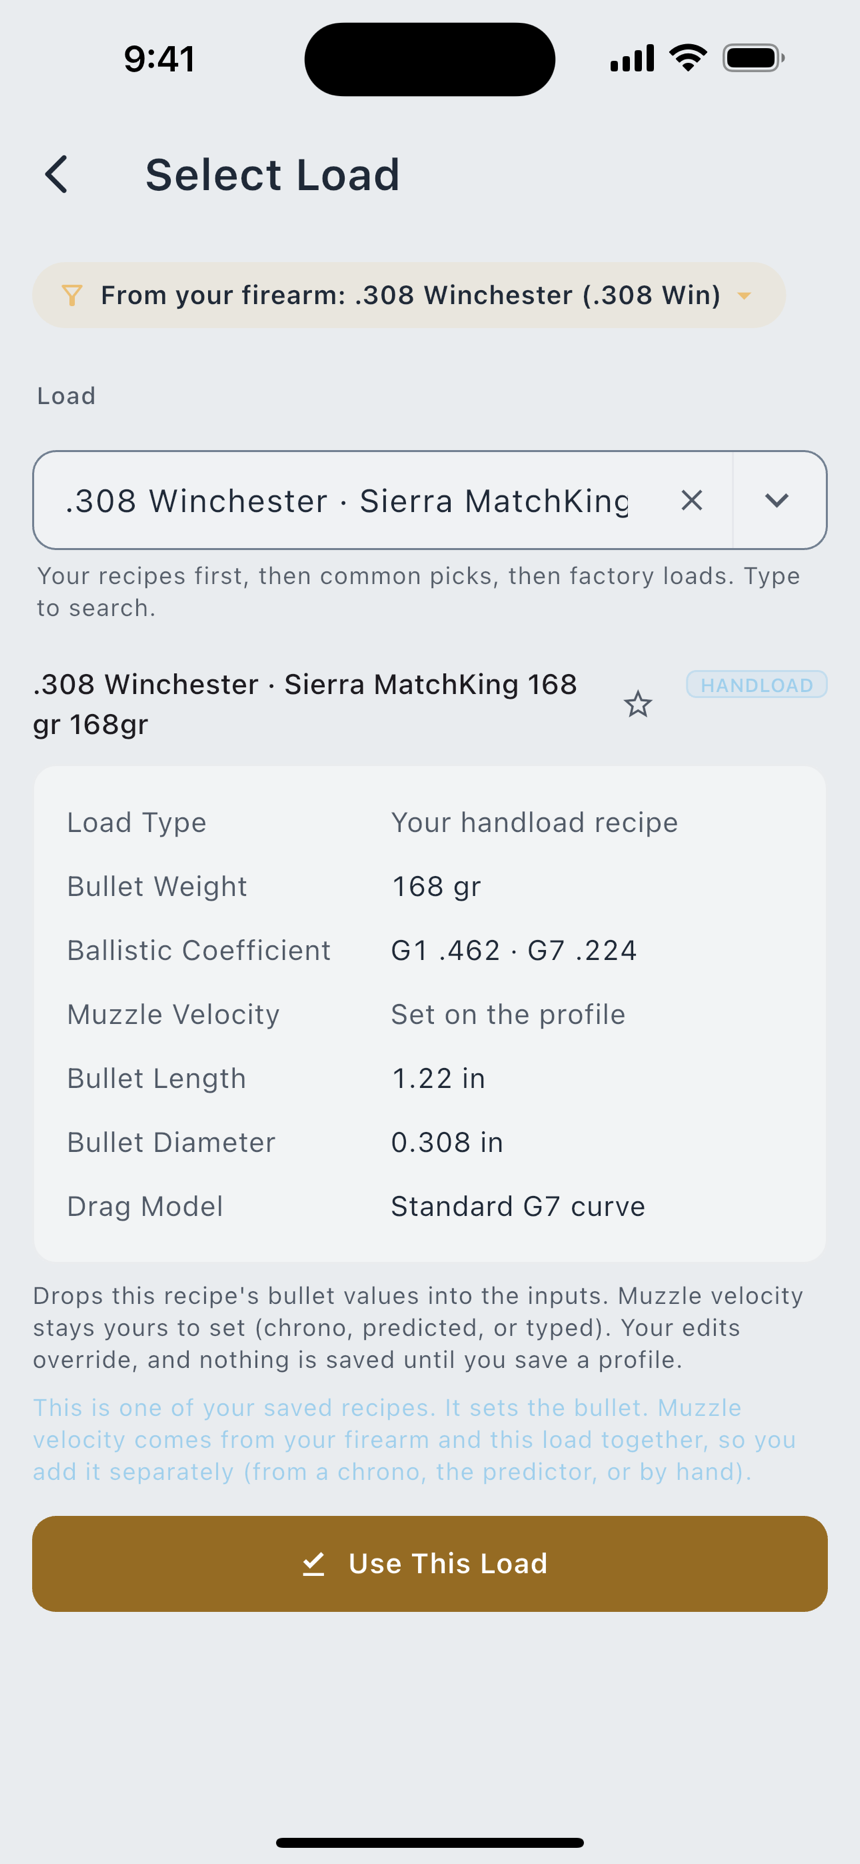
- Fill the two halves. Pick a saved Load and a saved Firearm, or create either in place. With only one of the two, the page says so and the holds stay dashed rather than guessing the missing half.
- Watch the status line. Configure Profile carries a completion status: either Solution Ready, or the actual list of what is still missing.
- Switch profiles from the Library. The Library button in the component bar picks any saved profile. Undo and Redo sit beside it, and Find a Field... jumps to any input by name.
Free two saved ballistic profiles. Pro unlimited. The seeded Sample profile does not count against the cap, and a restore from backup may exceed it. The limit governs new profiles you create, not ones you already had.
Configure Profile is one screen with two owners: the Ballistics page opens it on the profile you are solving, and Range Day opens the same editor on the profile a session is bound to. What you learn on one page is what the other page opens.
The Solution view
Two numbers, at the top, before any of the inputs. Elevation is how far up from your zero this shot needs; Windage is how far sideways. Each carries its unit tag, MIL or MOA, because 1.0 mil is not 1.0 MOA, and a direction letter rides in front of the number: U for come up, D for come down, L and R for windage. Tap either panel and it explains itself.
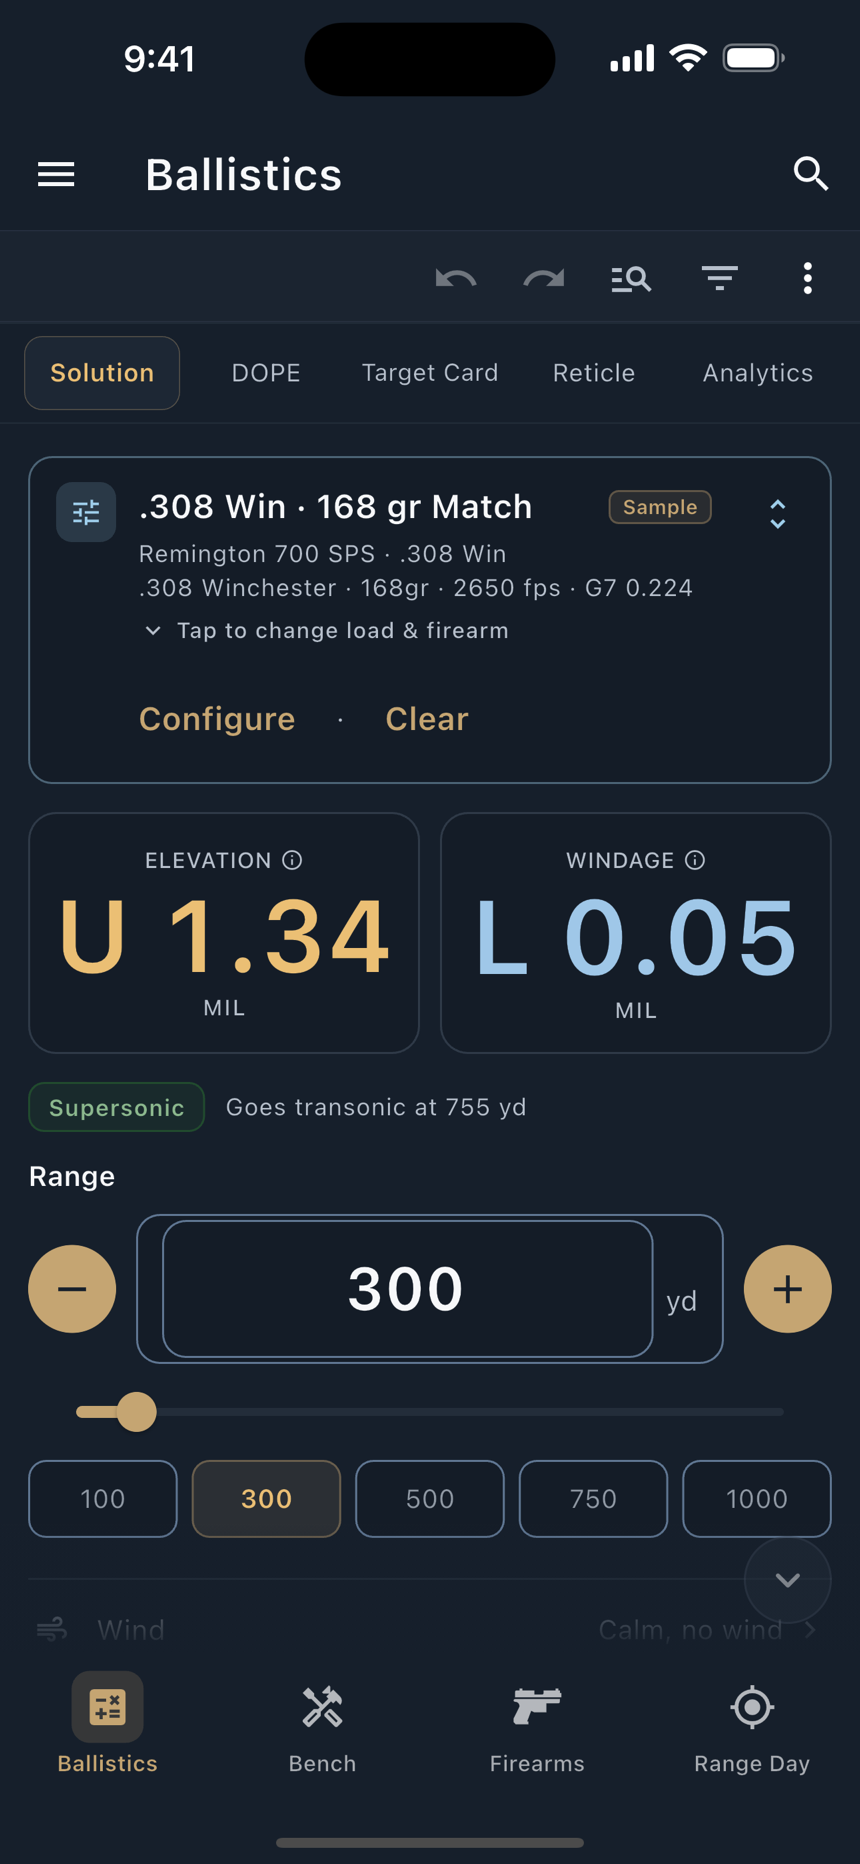
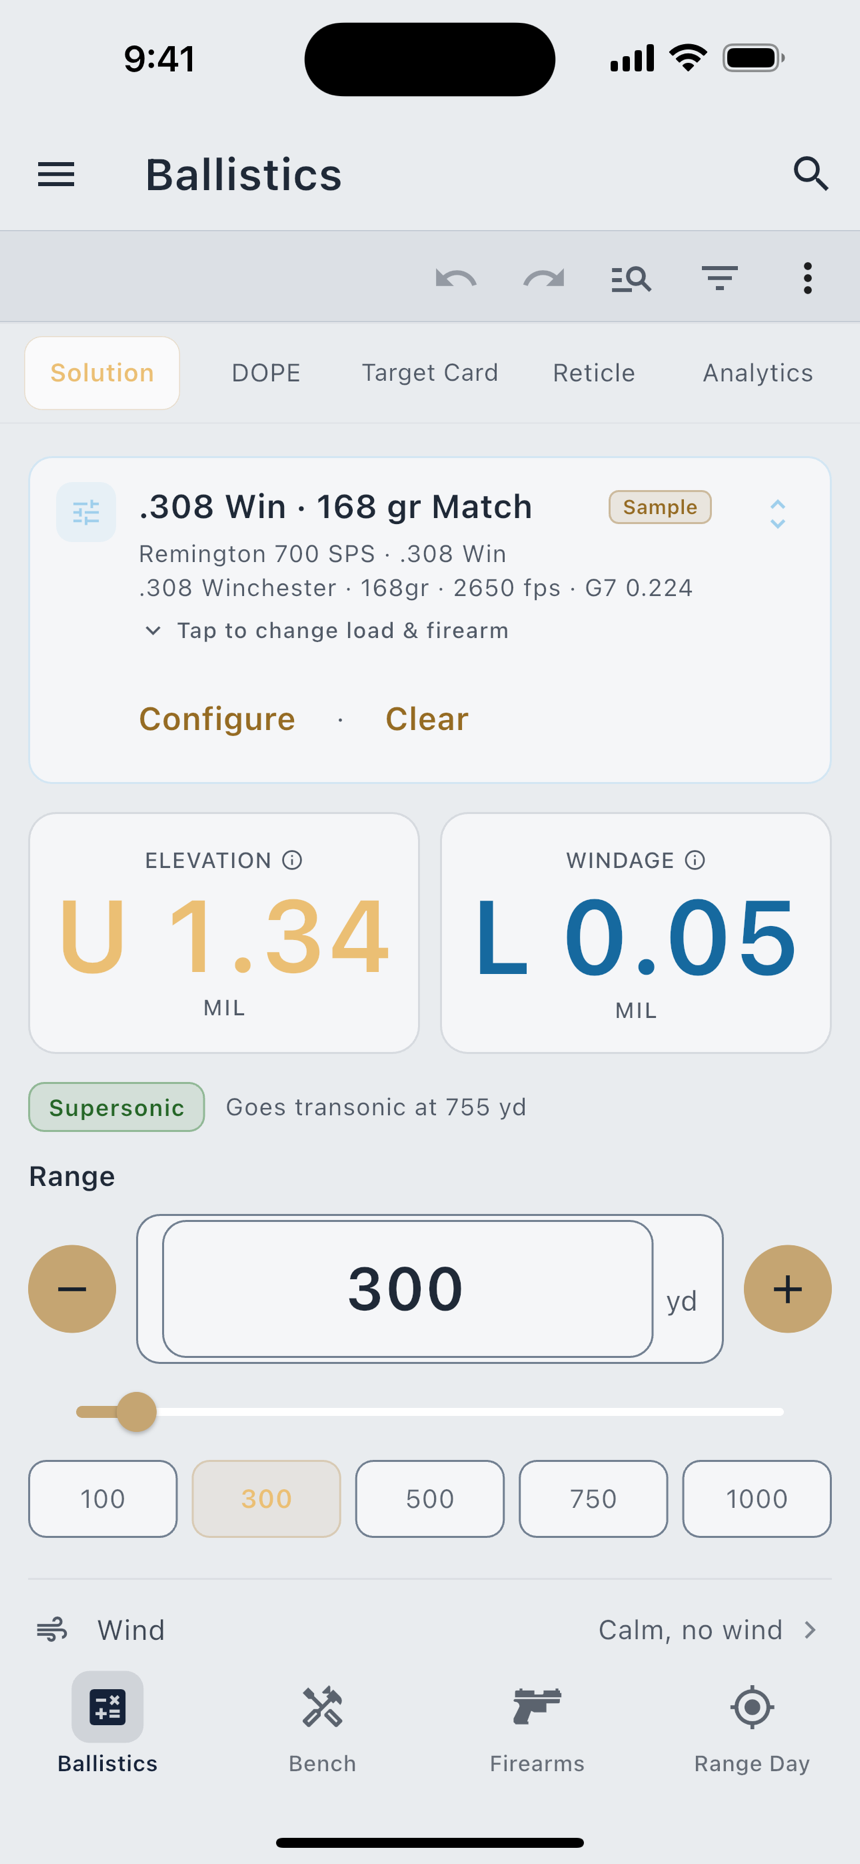
The reading is yours to use either way. Dial it on the turret or hold it on the reticle. The screen gives you the amount; the choice stays yours. Range Day carries a Come-Up preference that relabels the same panel Dial or Hold to match how you shoot; it is a display choice and never changes the number.
The range control
Range is the most-changed field on the screen, so it gets the loud treatment: a − and + pair either side of a large number, a slider, and five preset chips at 100, 300, 500, 750 and 1000. Tap the number to type one. Press and hold a stepper and it ramps through 1, 10, 20, 25, 50 and 100 per tick, so a long press covers a lot of ground.
There is no Calculate button. Drag the slider and both holds move with you, because the whole flight is being solved again as you go. That is also why windage keeps a small value in still air: a spinning bullet drifts on its own, and that drift grows with distance.
The rows below
The DOPE view
The Solution view answers one distance. DOPE lays out the whole ladder at once, so you can write it on a card or tape it to the stock. You set the step, and you choose which columns ride along: Drop, Energy, ToF, Max Ord, Spin Drift, Coriolis, Aerodynamic Jump and Incline are all chips you turn on and off.
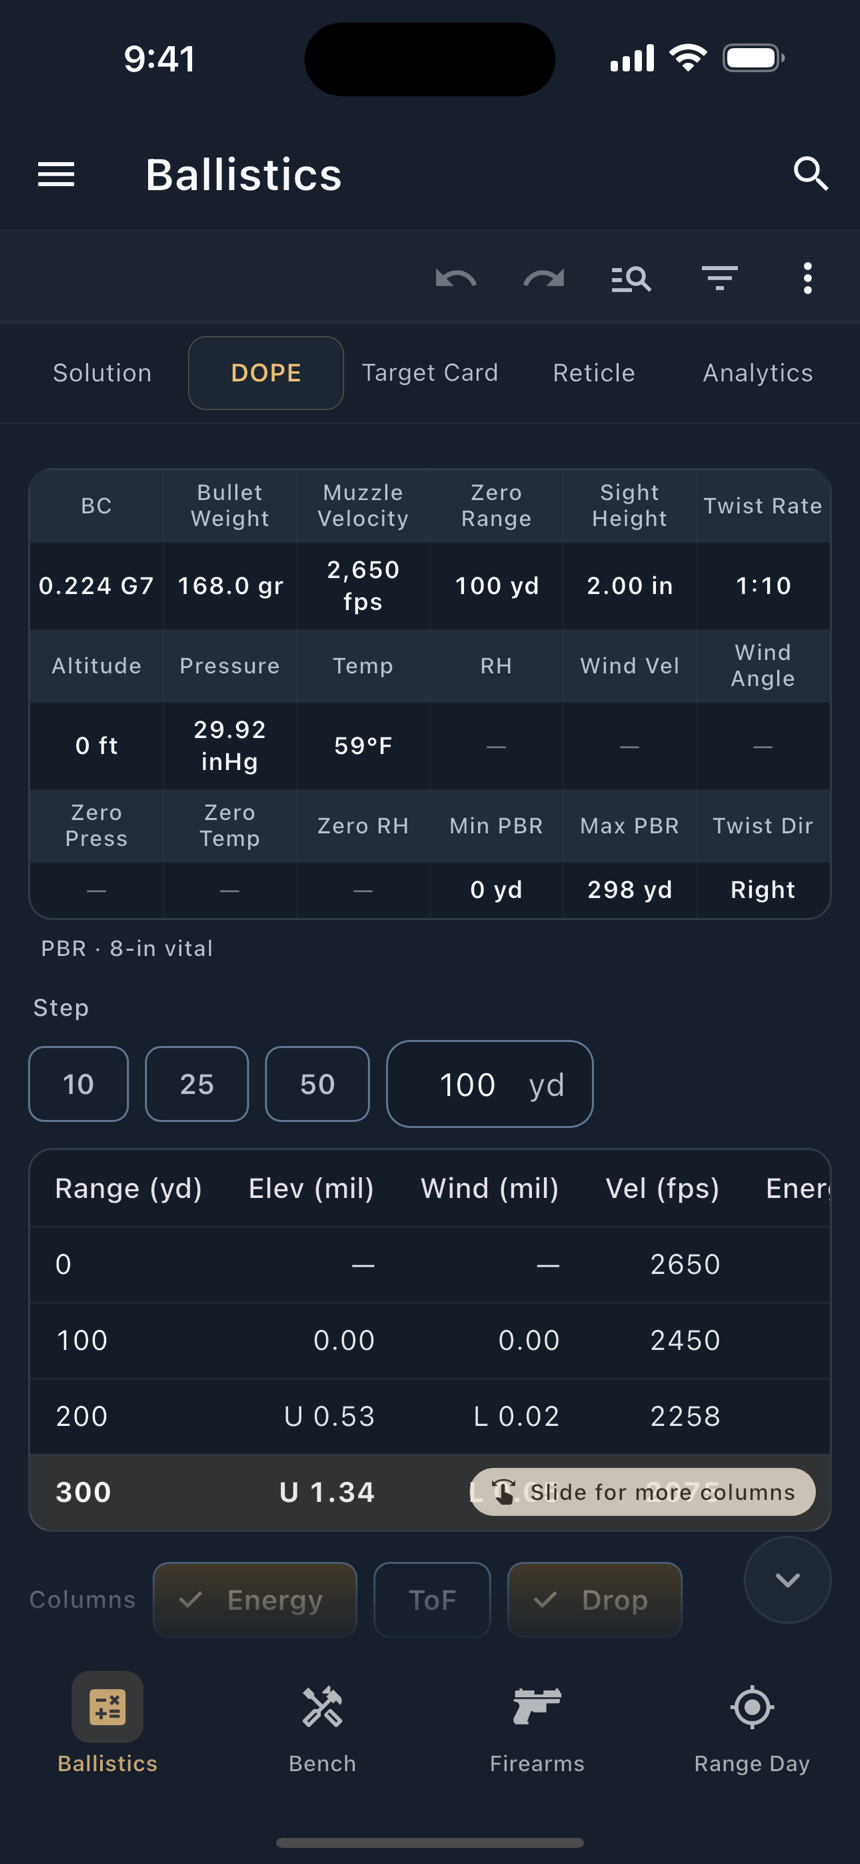
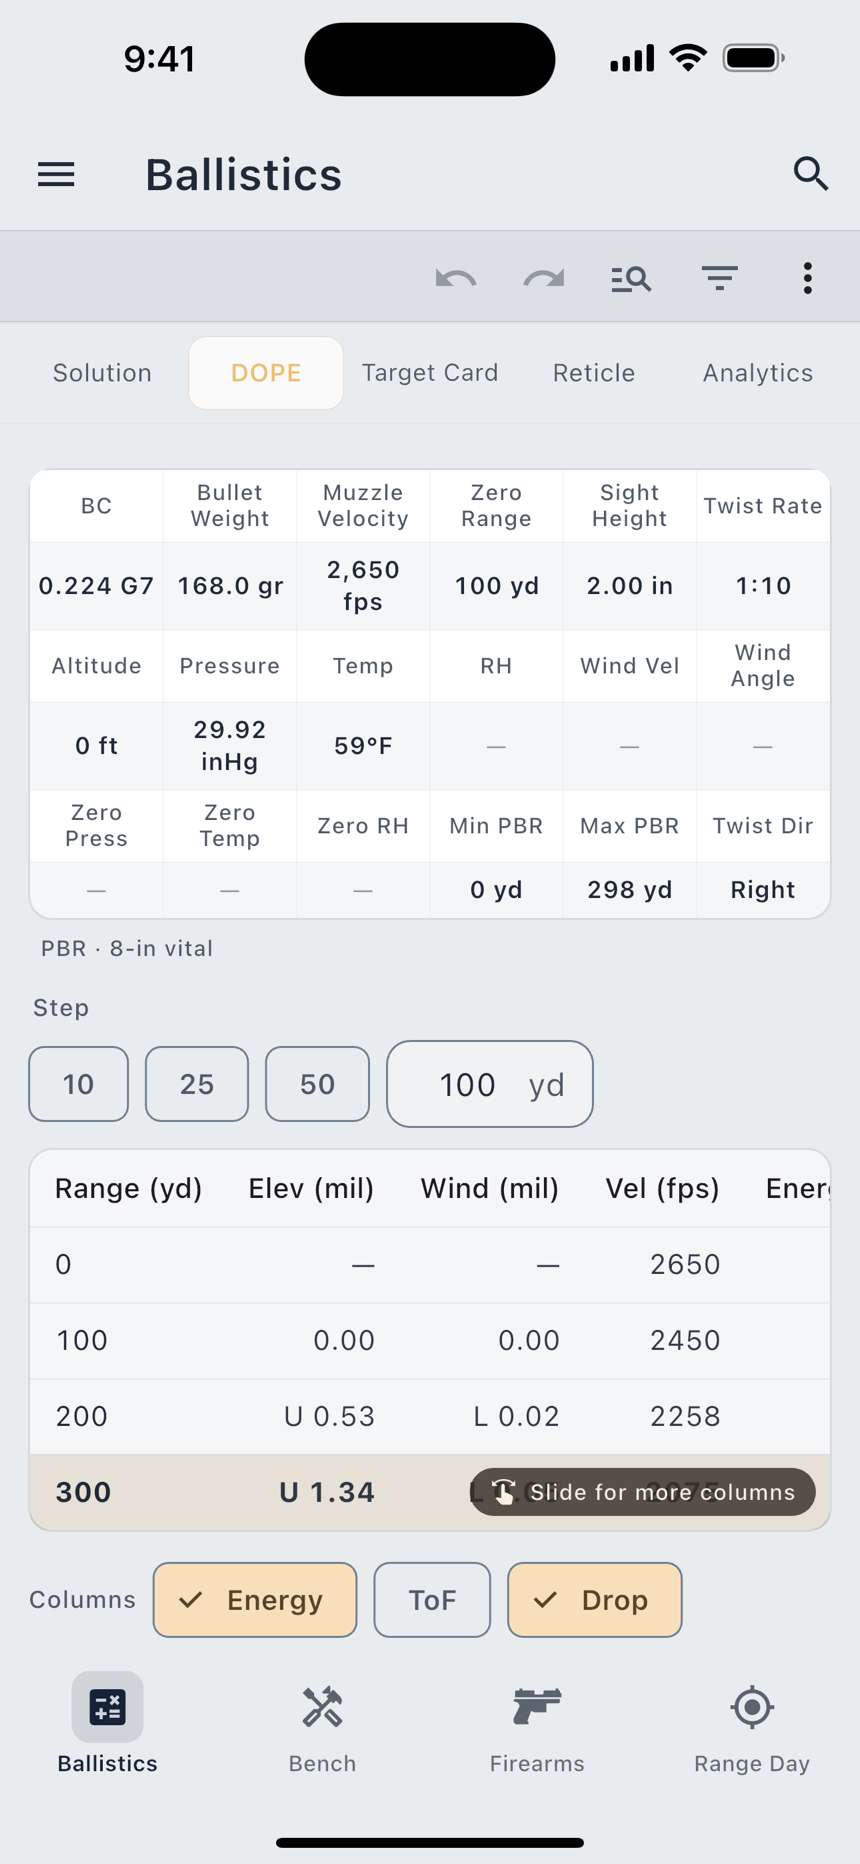
Export DOPE Card sends the table out as a PDF or an image, or copies it as plain text to your clipboard, with the conditions it solved at carried alongside.
The Target Card view
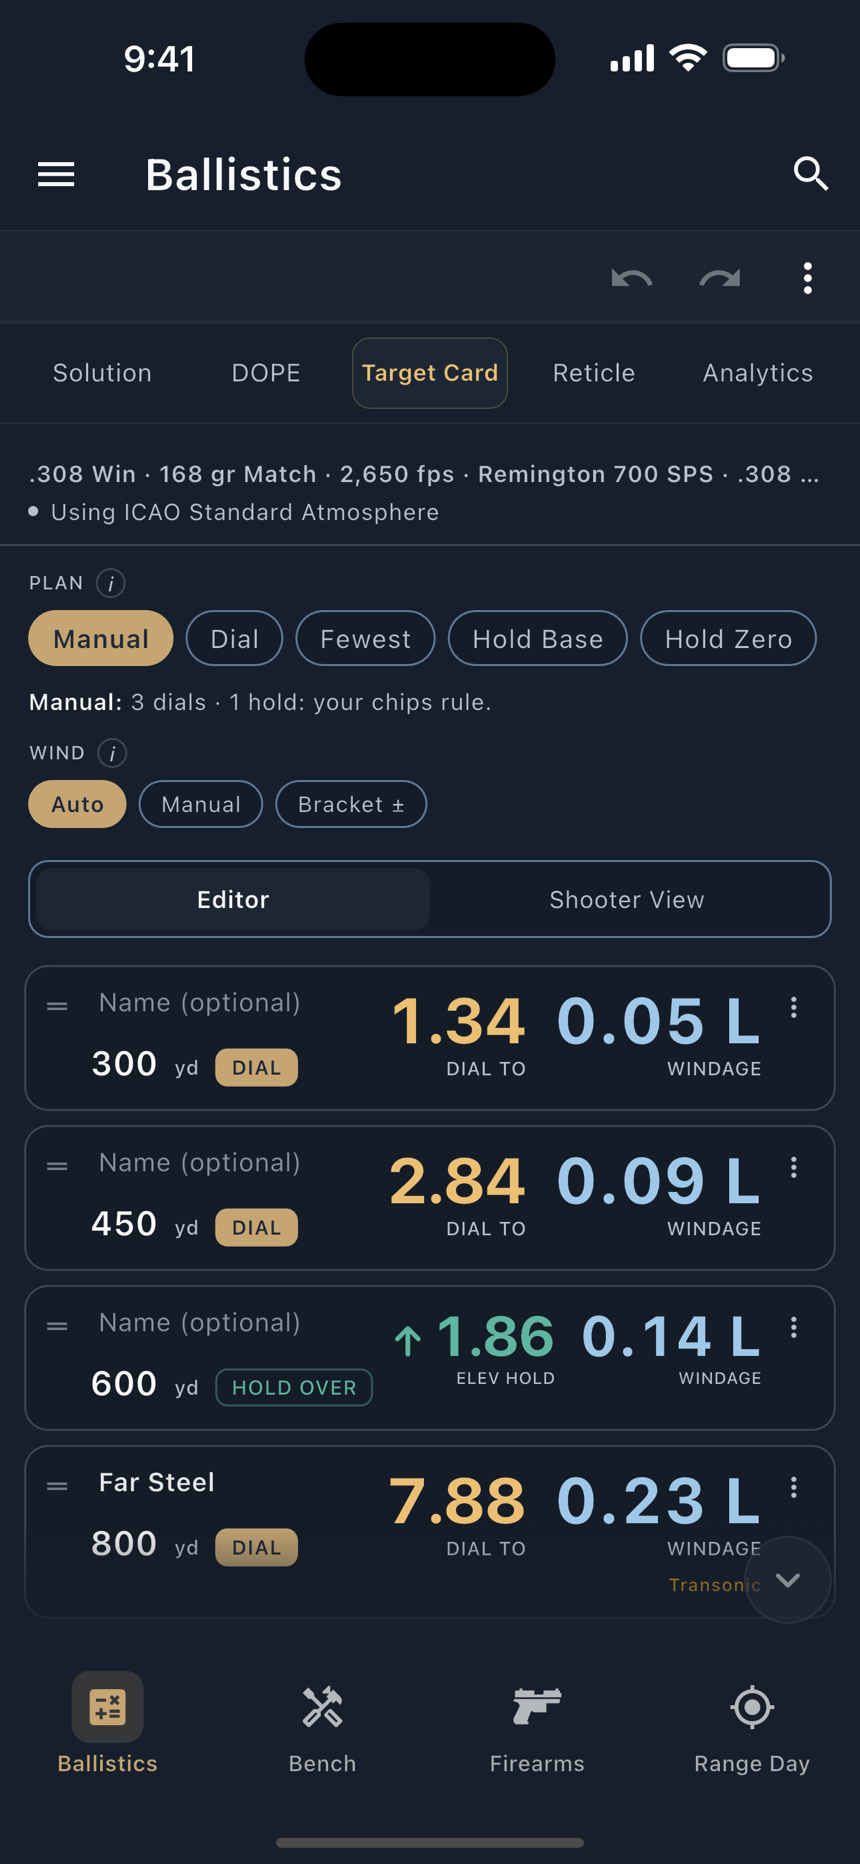
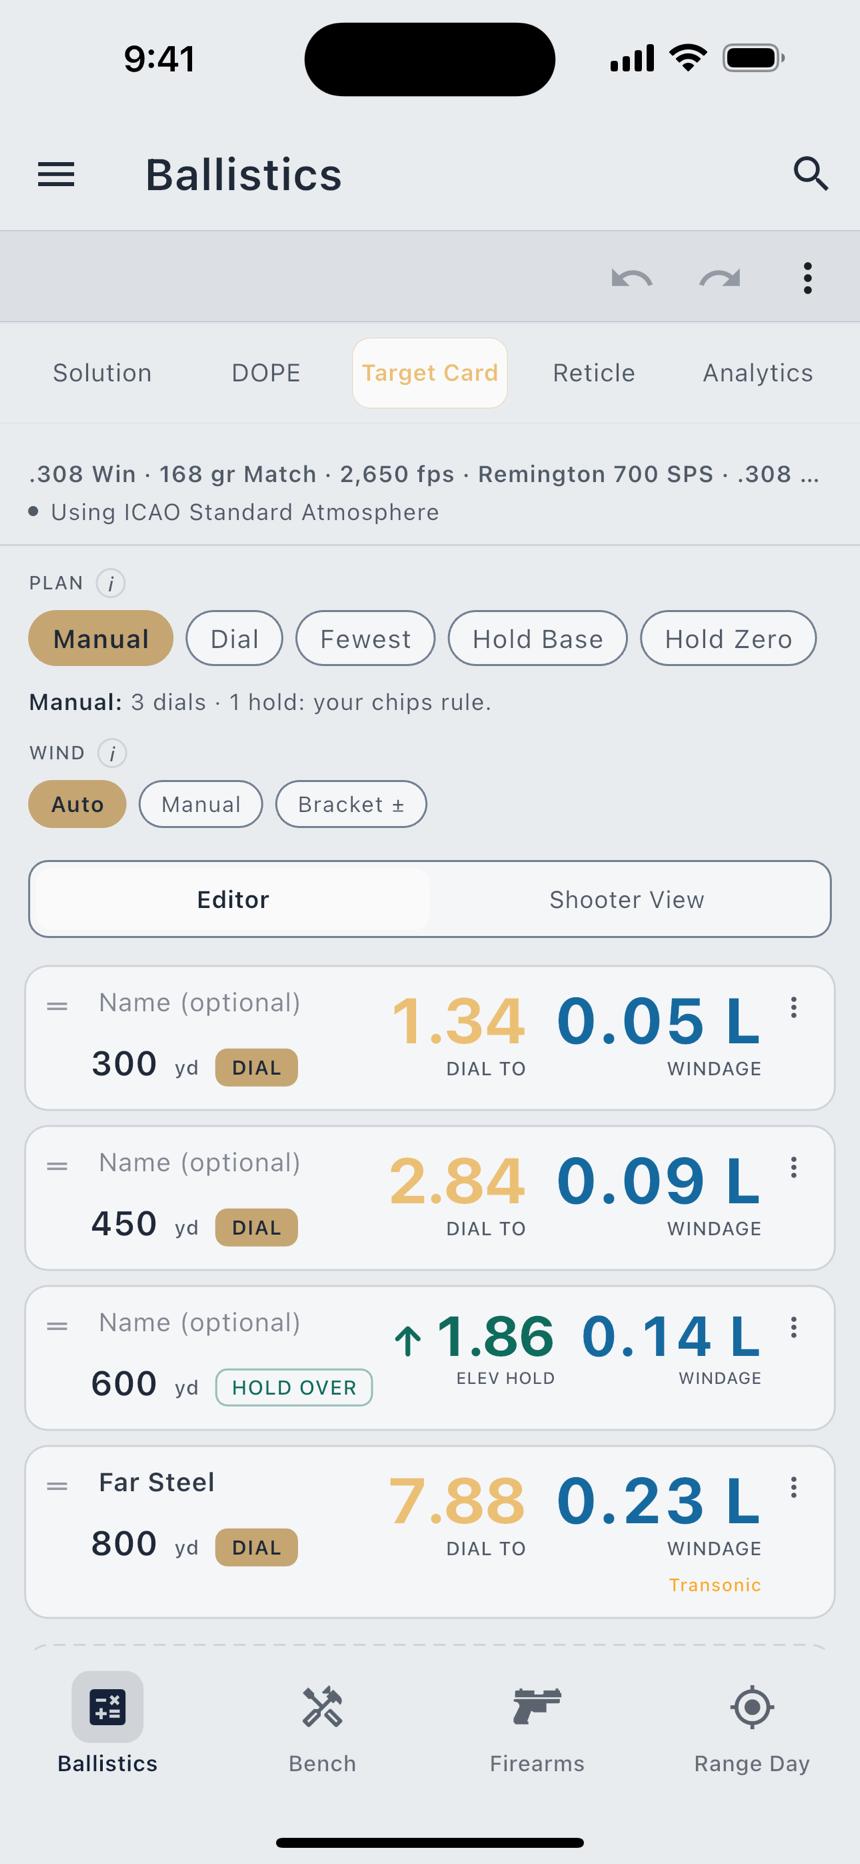
A DOPE table answers "what is my come-up at 600?". A target card answers "what do I do next?" by giving you a string of targets in the order you will shoot them, with the running turret accounted for between them. It has a chapter of its own: Target Cards & DOPE.
The Reticle view
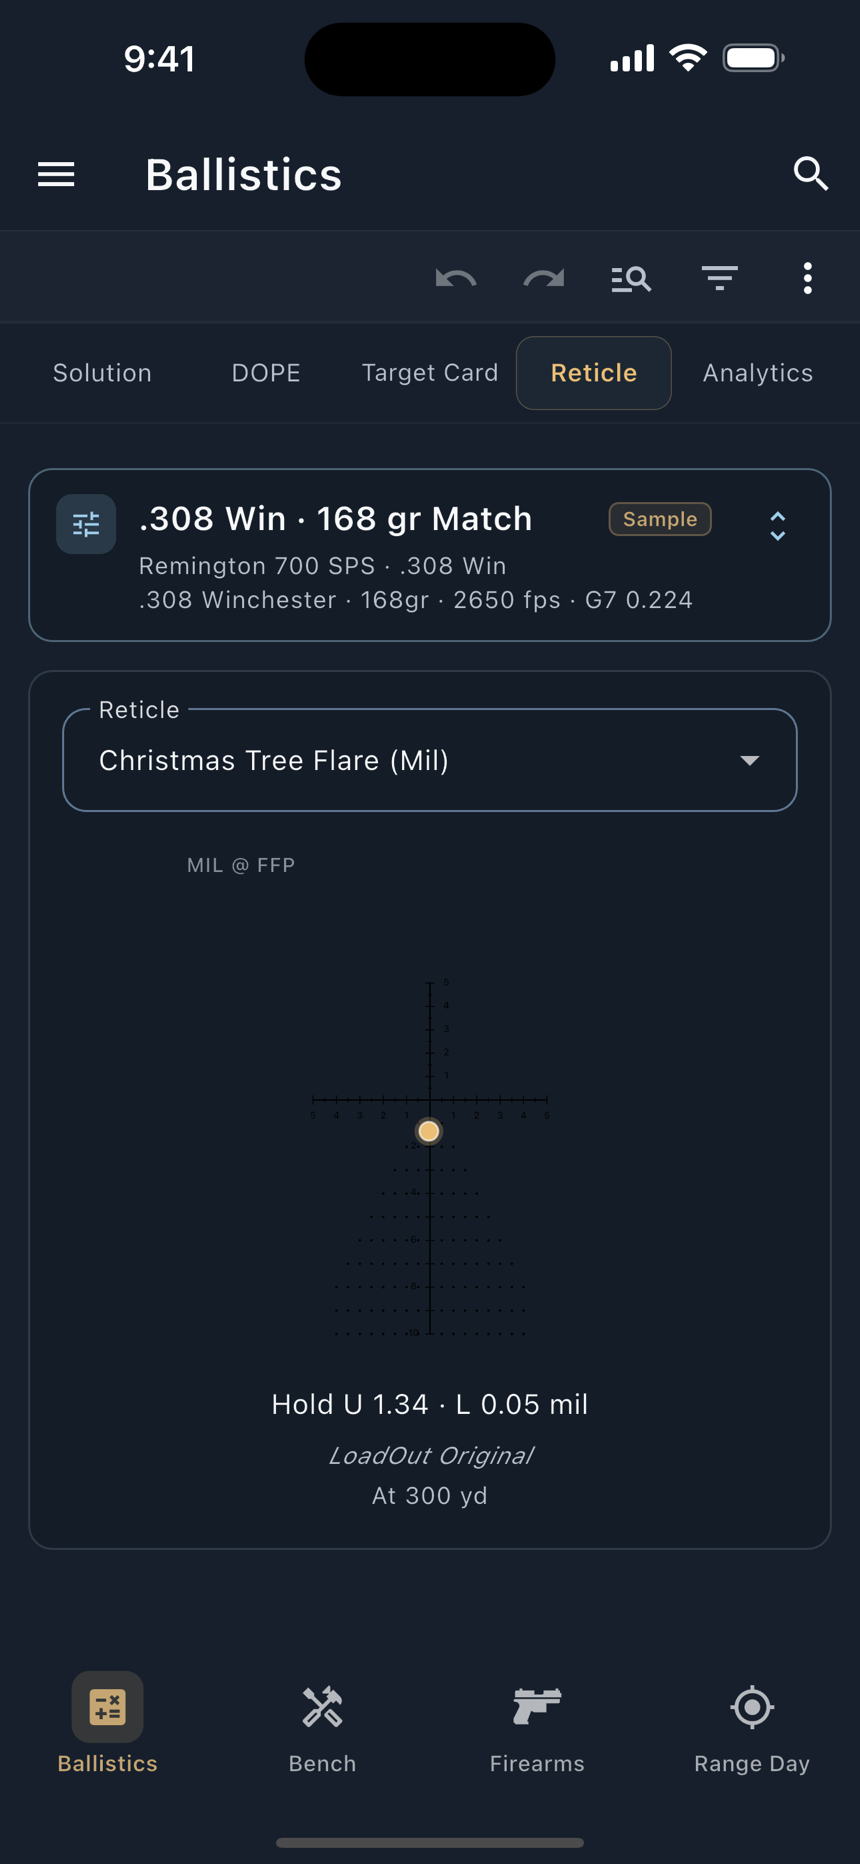
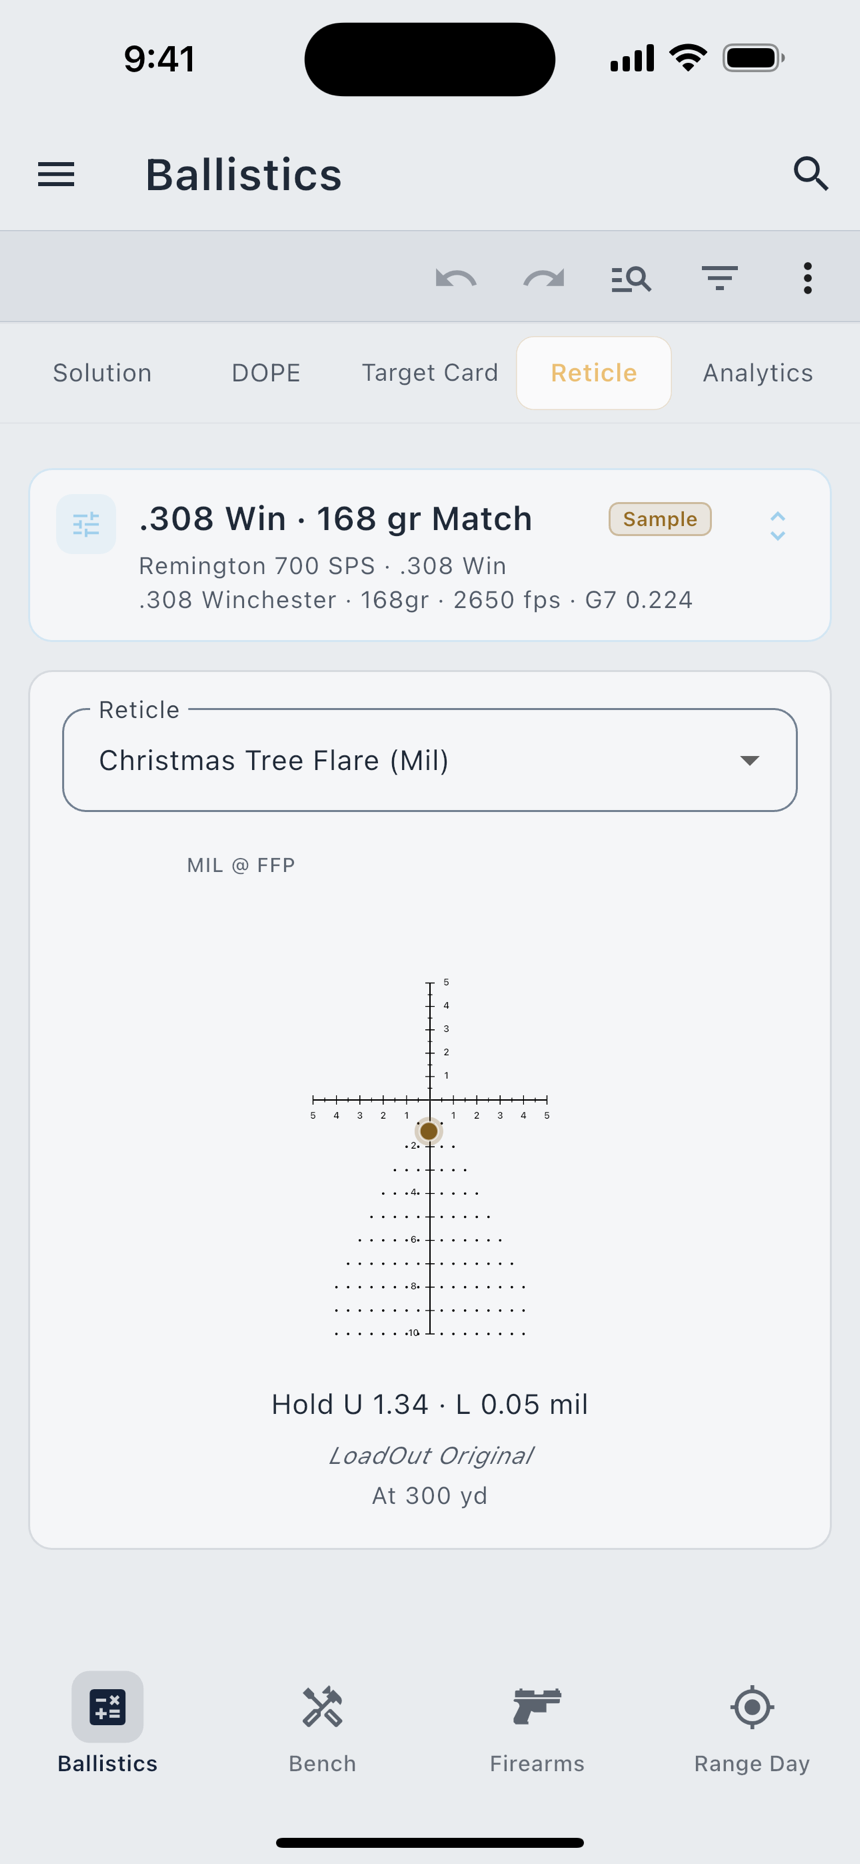
Your holds, drawn on your reticle. The tab opens on the reticle your firearm's optic actually carries rather than a generic mil tree, so the hold you are looking at sits on the subtensions you will look through. With no firearm picked there is no zeroed hold to place, and the view says so instead of drawing one.
Analytics and Full Analytics
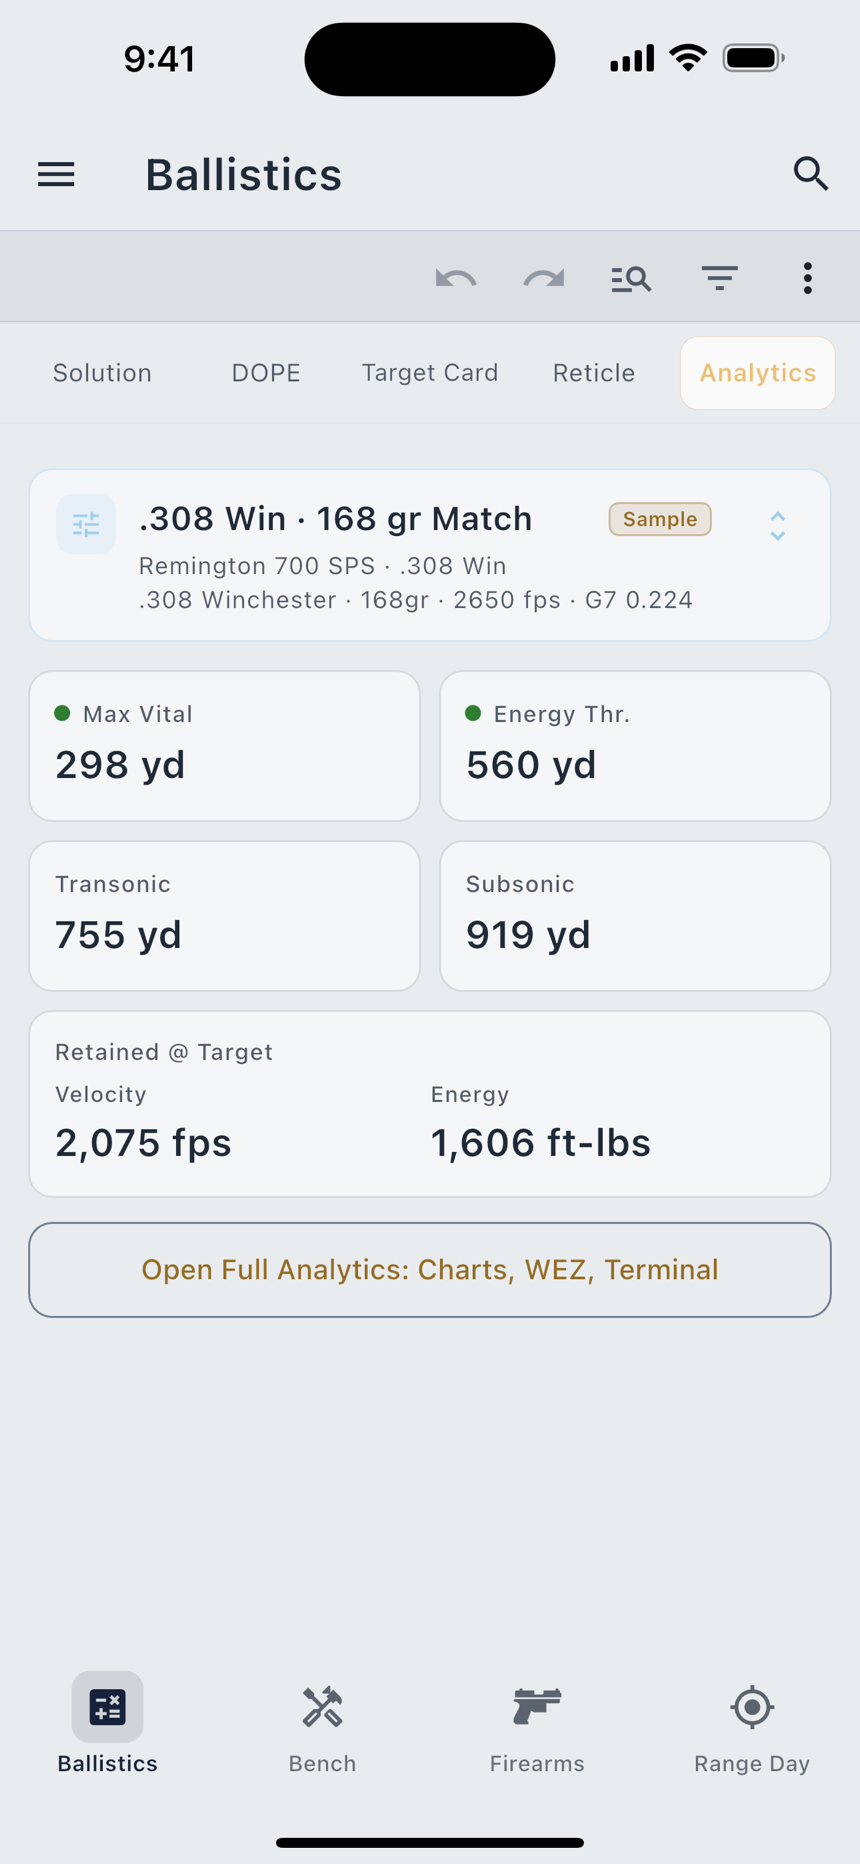
The Analytics tab is free and gives you four reach numbers plus the retained velocity and energy at your current range:
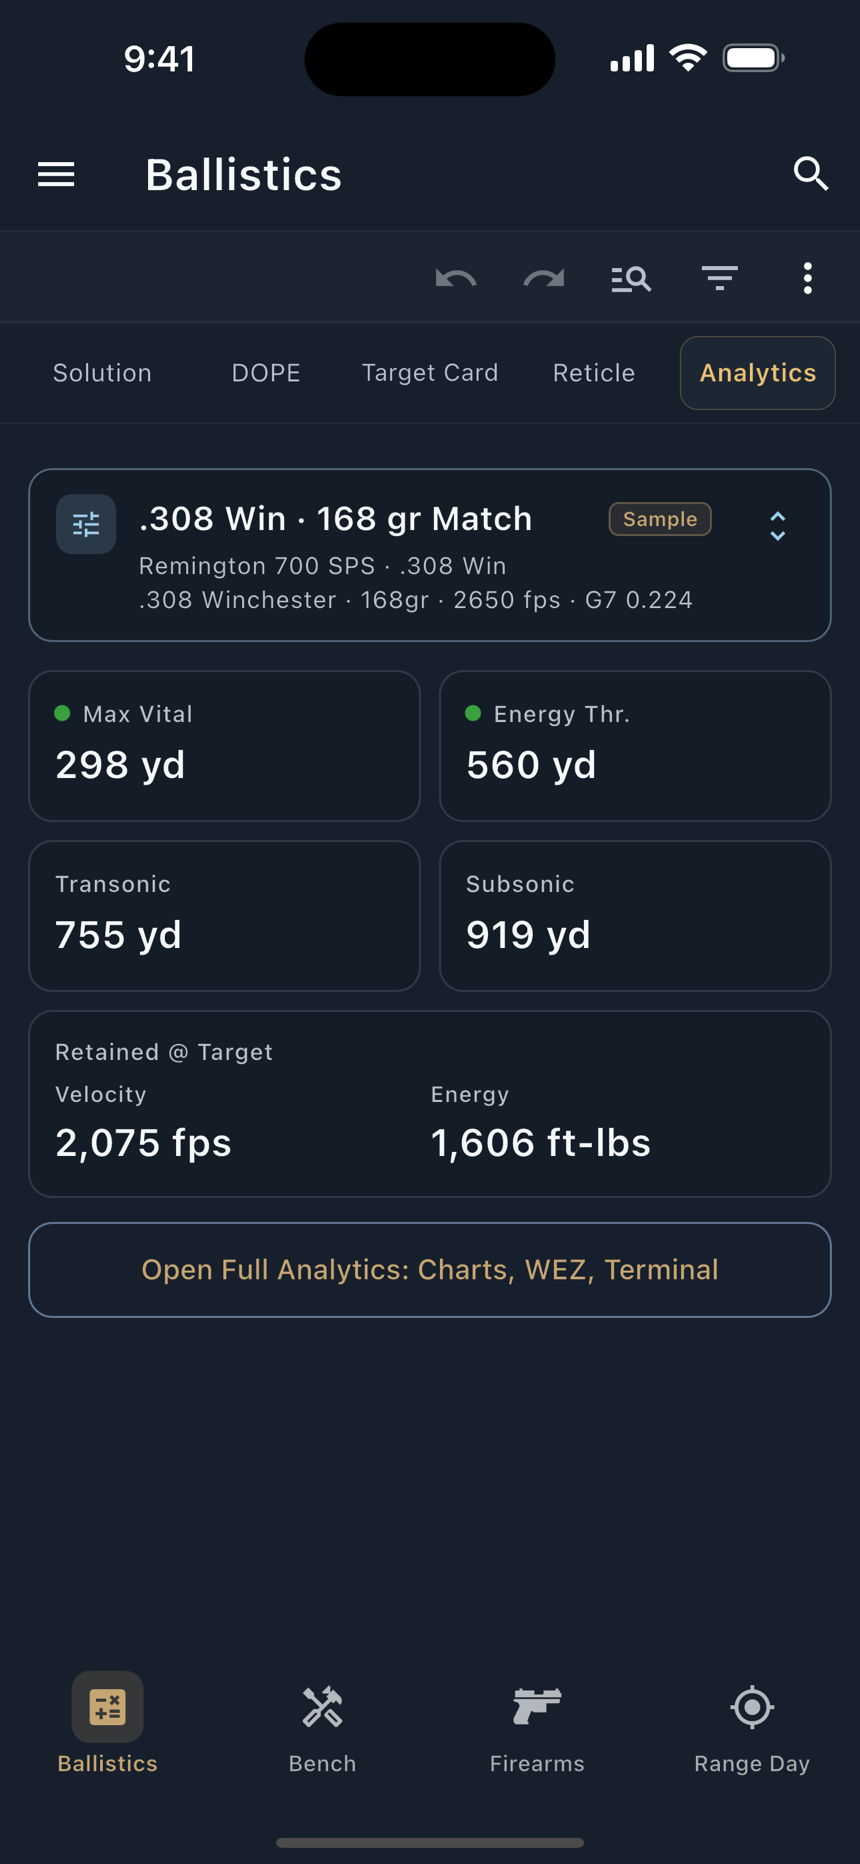
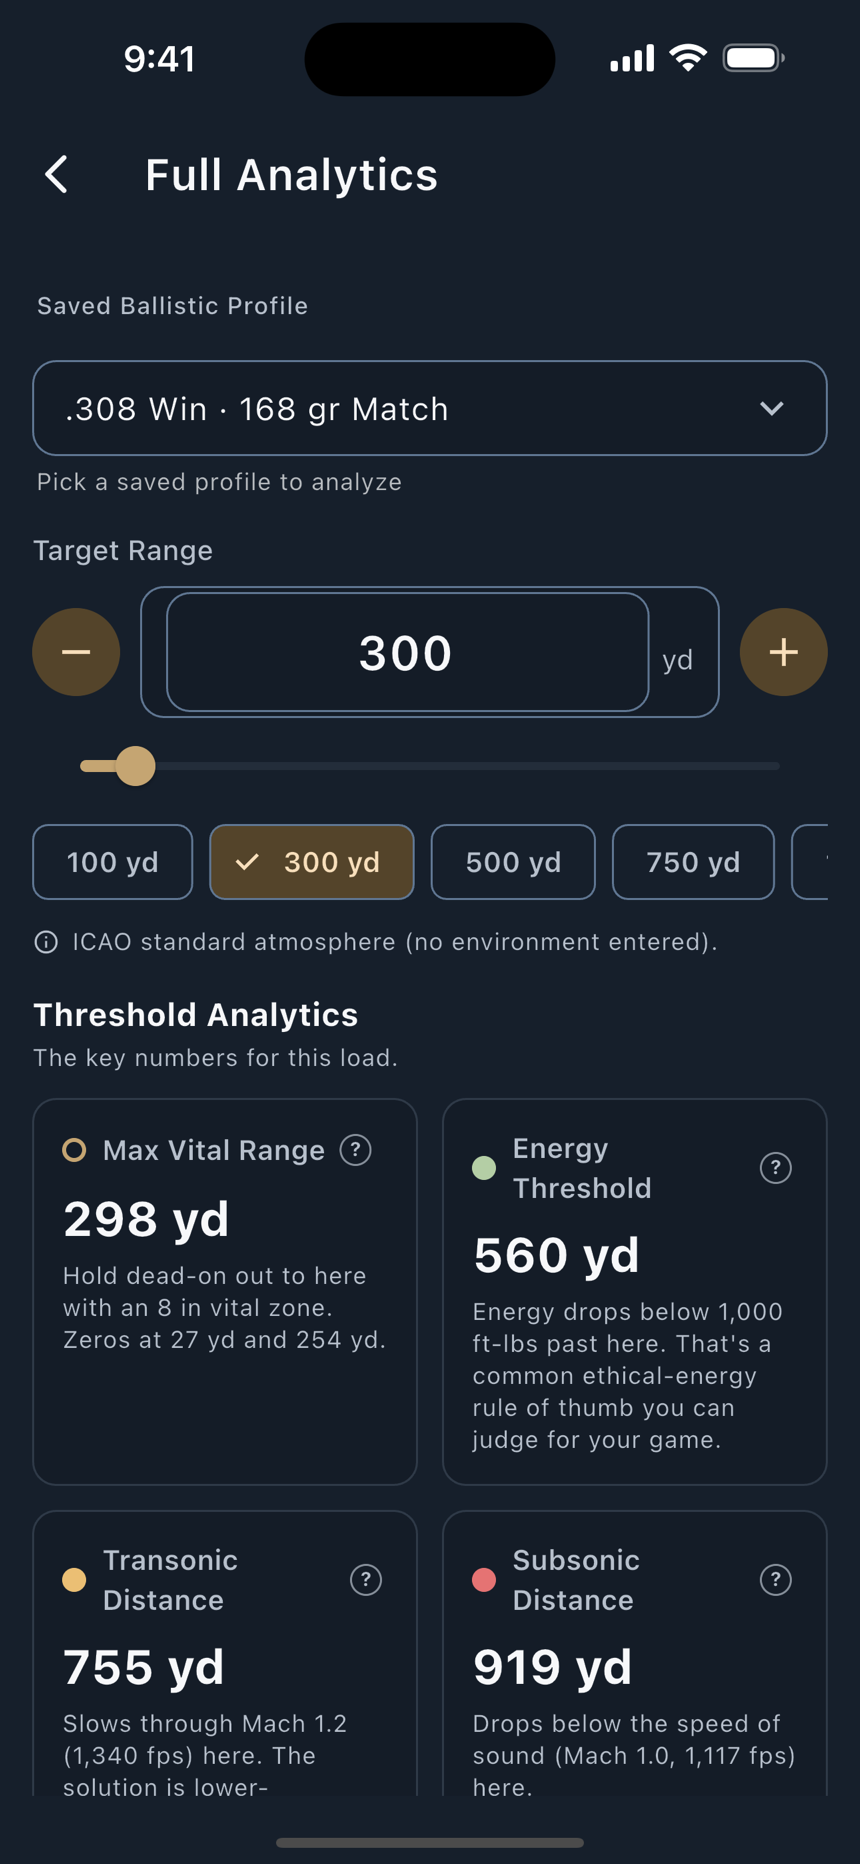
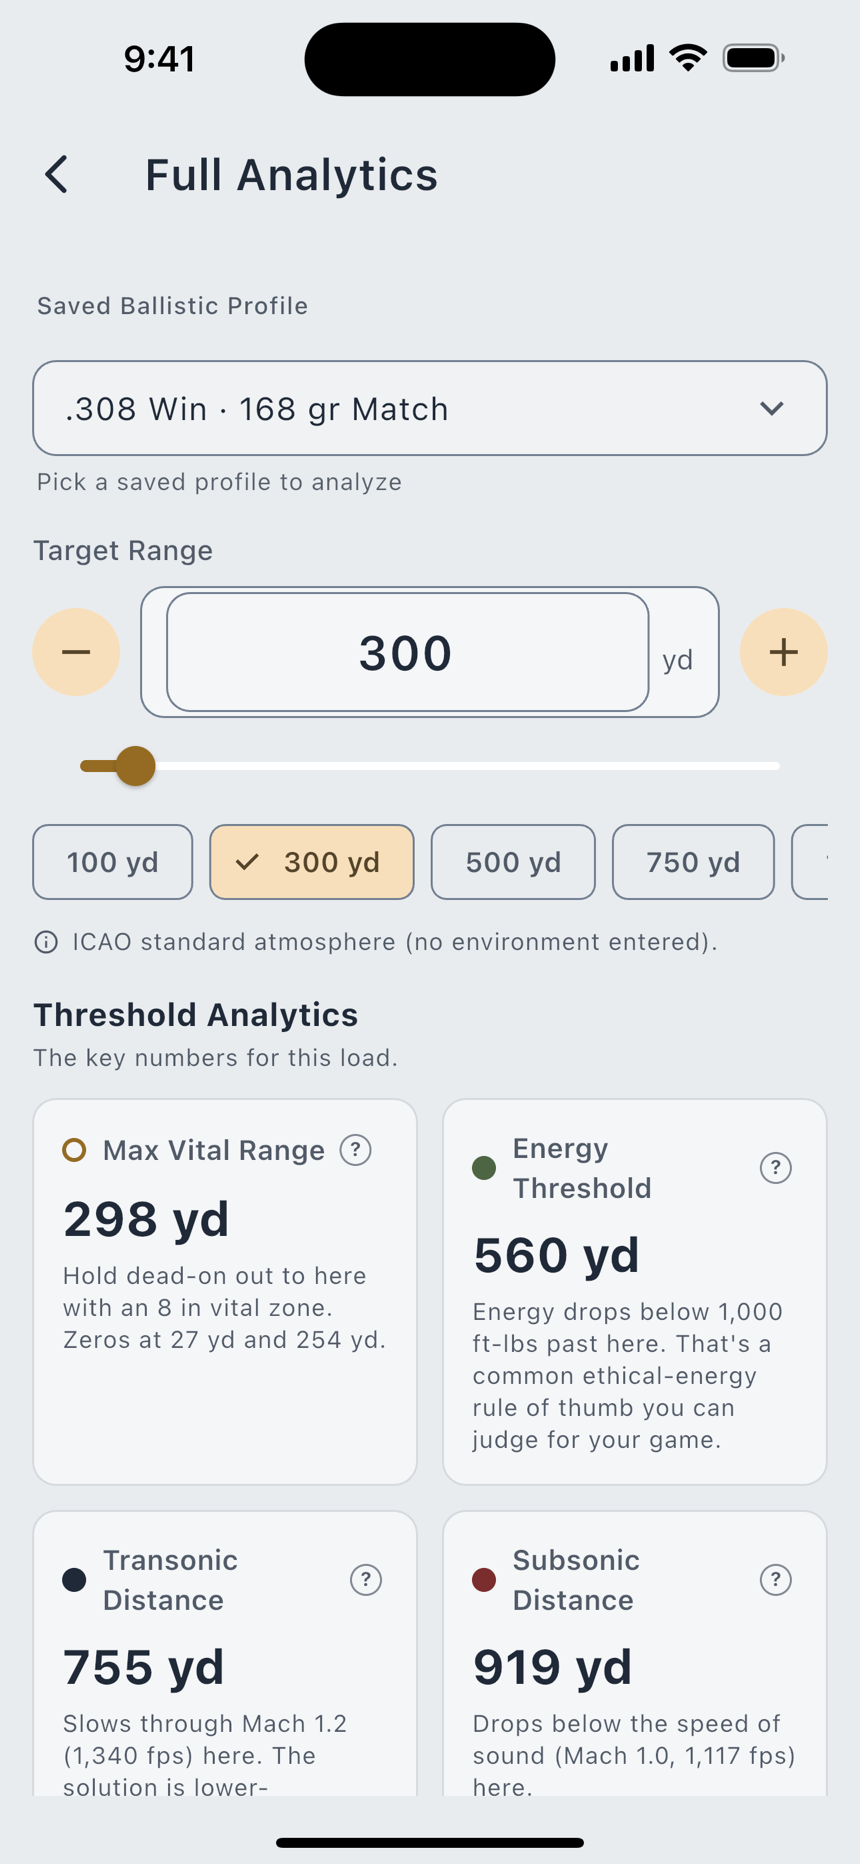
Pro Full Analytics opens the whole picture. Threshold Analytics carries the key numbers for the load, each with a tap-through explanation: transonic and subsonic distance, maximum point-blank range, energy threshold, maximum ordinate, time of flight, spin drift, and Coriolis. Below that sit the chart sections, in order: Hit Probability, Trajectory, Wind Drift & Hold, Velocity & Energy, Danger Space, and Terminal at Target.
If a solver effect is switched off under Settings › Ballistics & Range Day, the matching card says so in its own tooltip rather than quietly reading zero.
Environment and wind
Four fields describe the air: Temperature, Station Pressure, Humidity, and Station Altitude. Density Altitude is worked out from those four and shown, not typed.
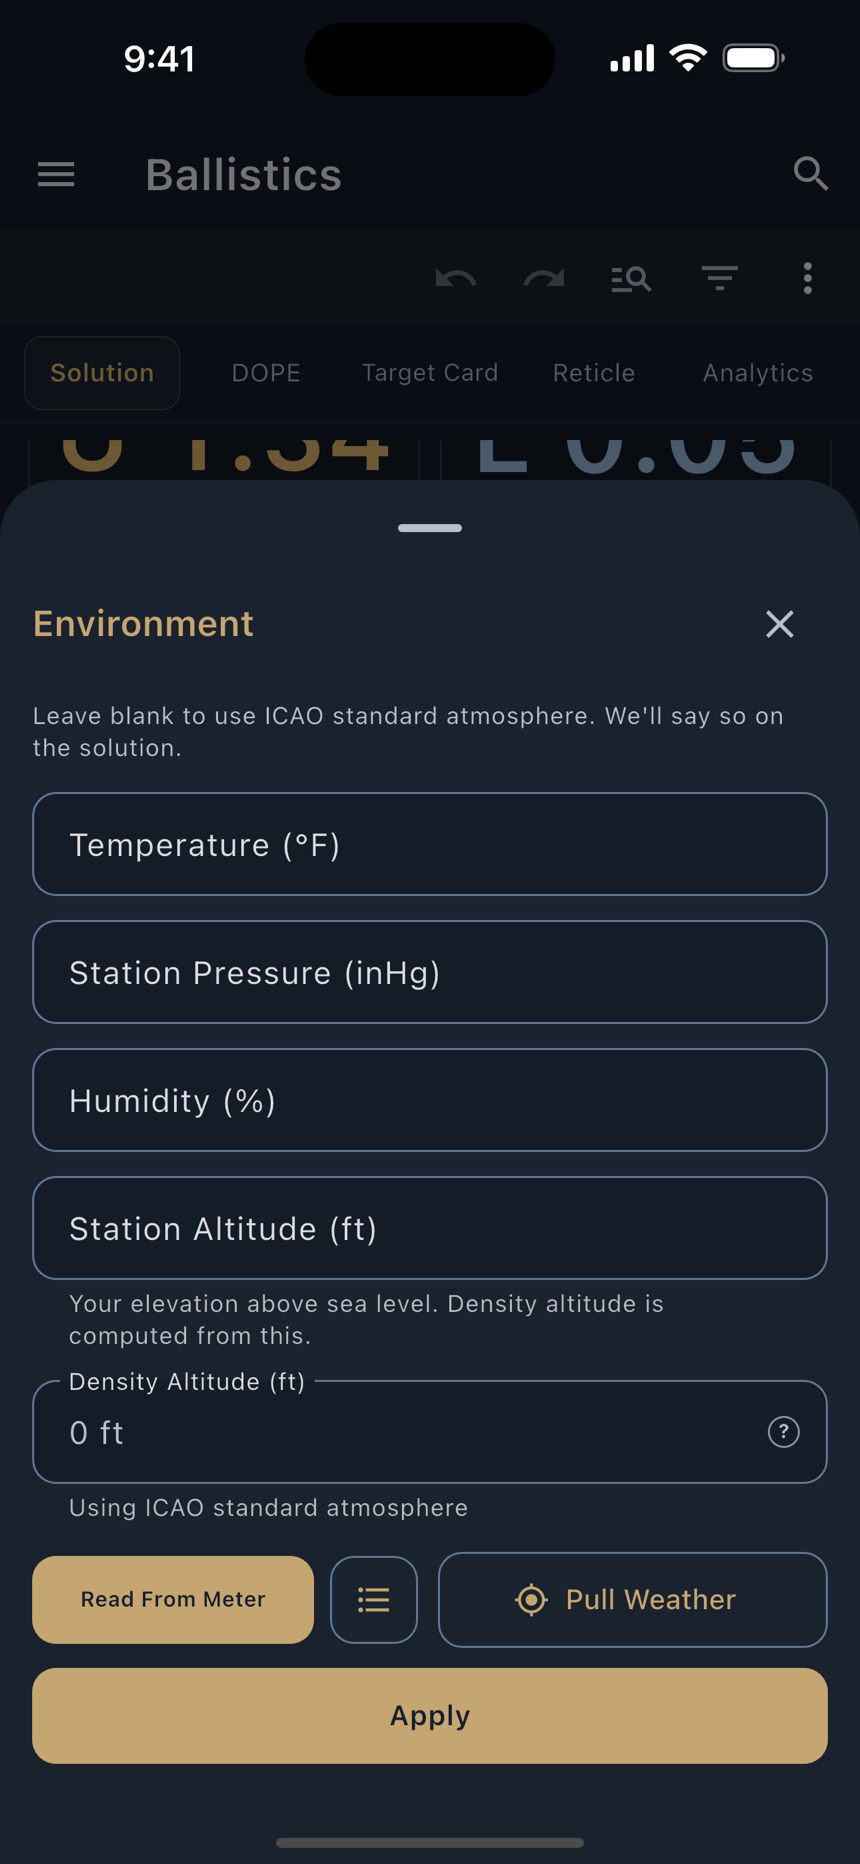
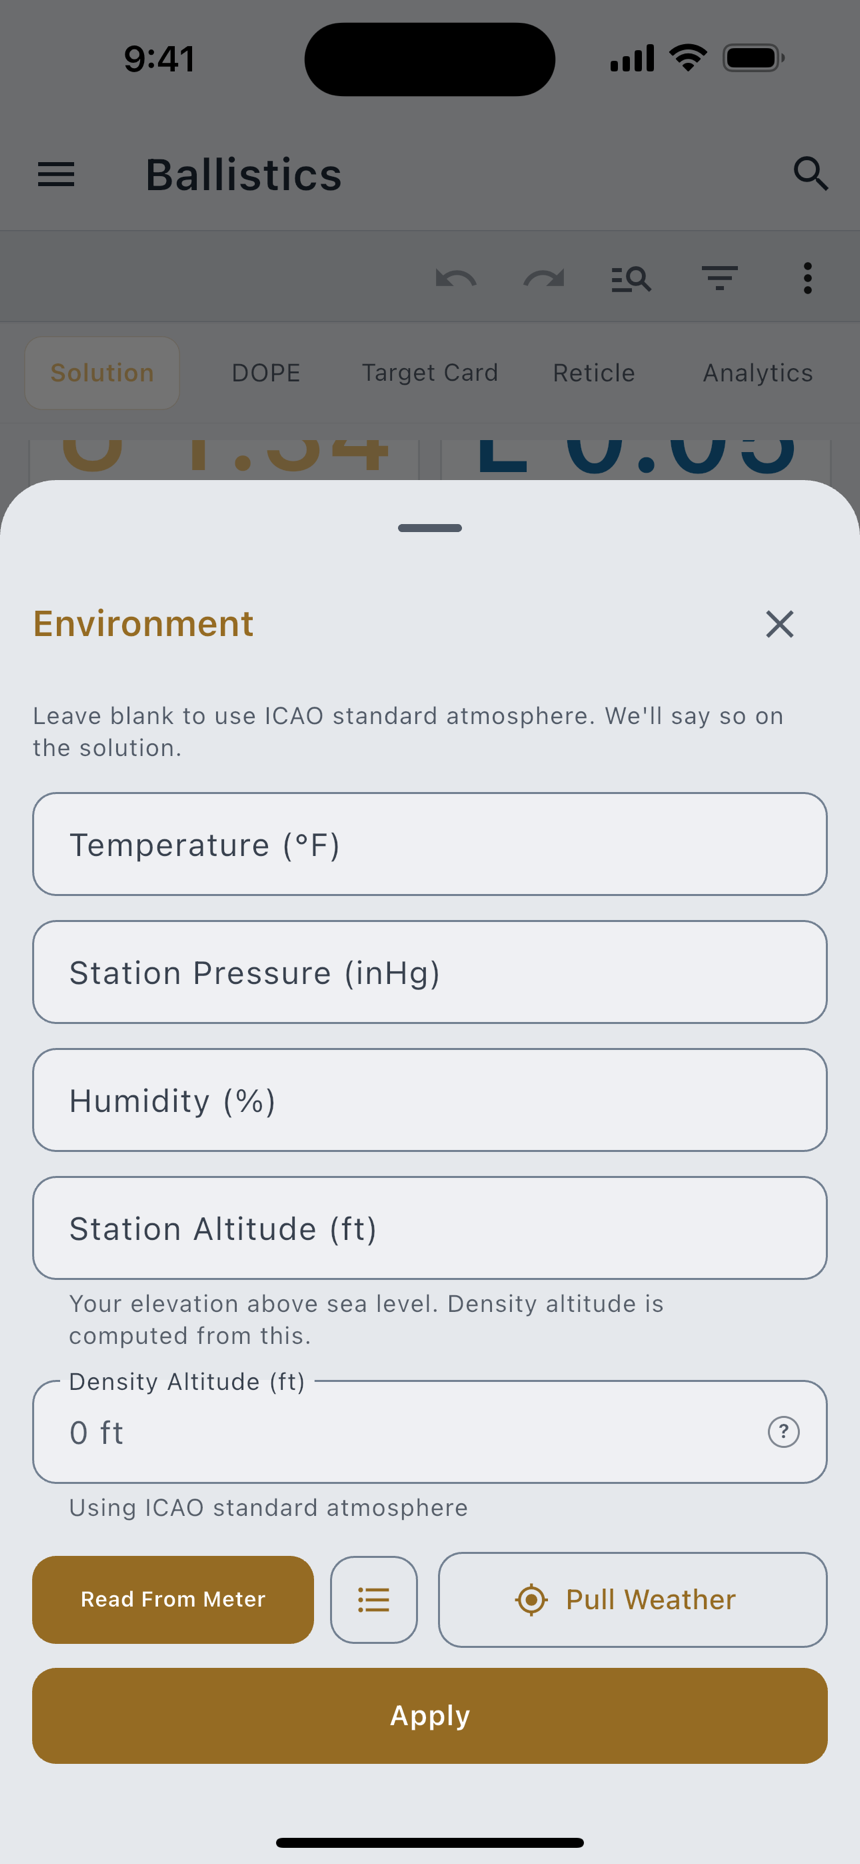
Leave them blank and the solver uses the ICAO standard atmosphere. Every surface that shows you a number solved that way says so on its face, each in its own words; on this one it reads Using ICAO standard atmosphere. The sheet says it up front too: leave blank to use ICAO standard atmosphere. We'll say so on the solution. Thin air lets a bullet carry further, so this row is telling you it is solving on a standard day rather than pretending to know yours.
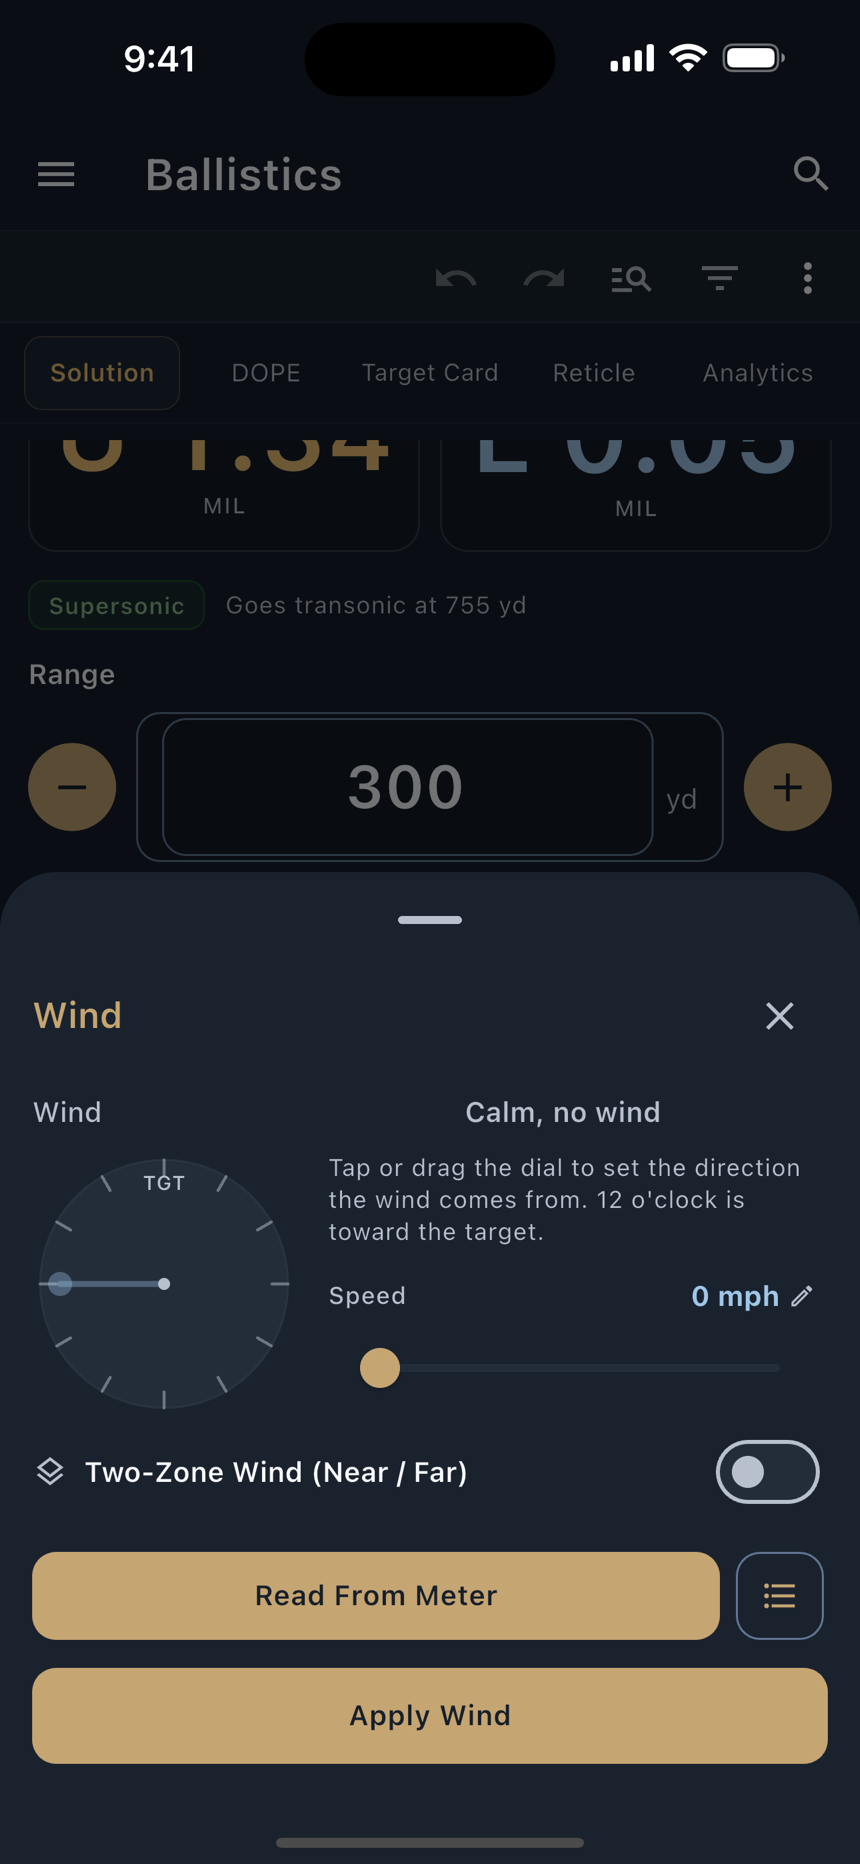
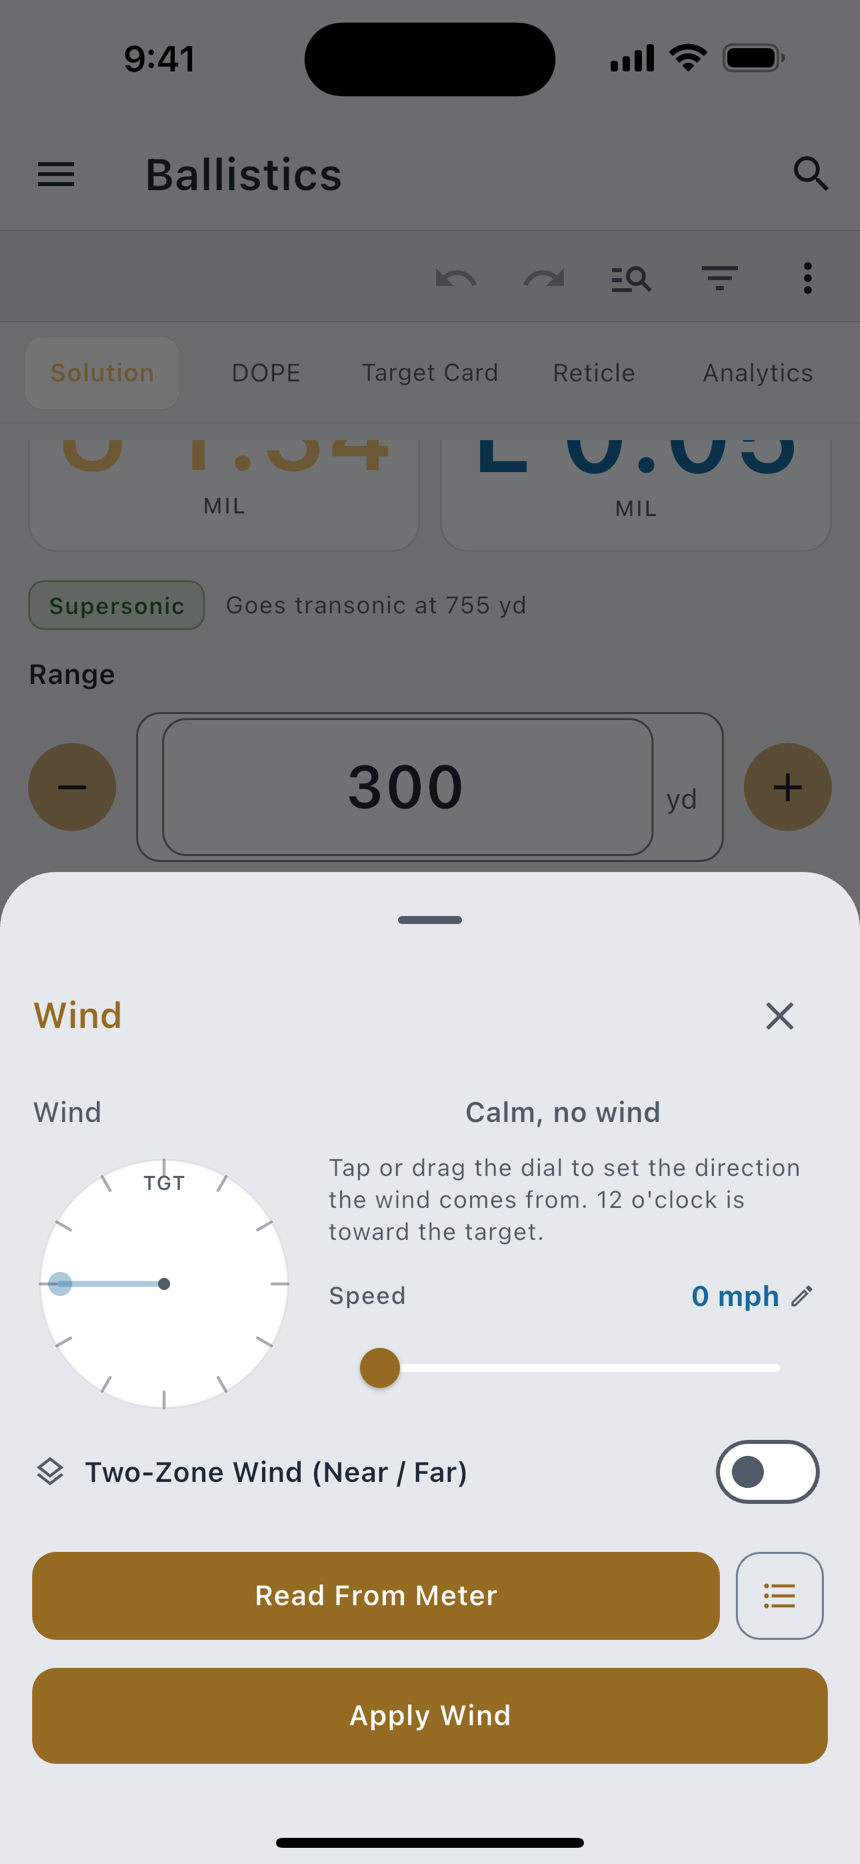
Wind is a call, not a measurement, and LoadOut treats it that way. With nothing entered the windage reads spin drift alone. It says calm because nobody has told it otherwise, and it will not invent a breeze to look useful. Open the row and give it your own call: speed, plus the direction the wind comes from.
Pro Live Weather Pull fills the four environment fields from your location. A free user sees the fields and types the conditions in.
Advanced inputs
The rest of the inputs are optional, and each one buys a specific correction:
| Input | What it buys |
|---|---|
| Twist Rate | Spin drift. Without it, and without the bullet's length, the spin-drift term is left out and the app says so rather than folding a guess into the windage. |
| Incline | The uphill or downhill correction. Blank reads as a level shot. |
| Powder Temp Sensitivity | How much your load's muzzle velocity moves per degree. |
| Powder Reference Temperature | The temperature your muzzle velocity was measured at, so the sensitivity has something to work from. |
| Latitude | Turns on the Coriolis correction. |
| Firing Azimuth | Completes it. Left blank with a latitude set, it solves as a due-north shot. |
| Zero Temperature / Zero Station Pressure / Zero Humidity | The conditions you zeroed in, so a solve in different air can correct back to the zero you actually have. |
Drag models
LoadOut solves with a Modified Point-Mass engine over the six standard drag tables, interpolated rather than stepped:
| Model | Shape it describes |
|---|---|
| G1 | Ingalls, flat-base |
| G2 | Aberdeen J |
| G5 | Boat-tail, short |
| G6 | Flat-base, long |
| G7 | Boat-tail, VLD |
| G8 | Flat-base, very long |
Free Bullets that ship with measured drag data use it: a Cd-vs-Mach curve for that specific projectile instead of a standard table scaled by a single coefficient. Where a bullet carries one, the solve reads it, and the input list names Custom Drag Curve as the input in play.
True DOPE and truing
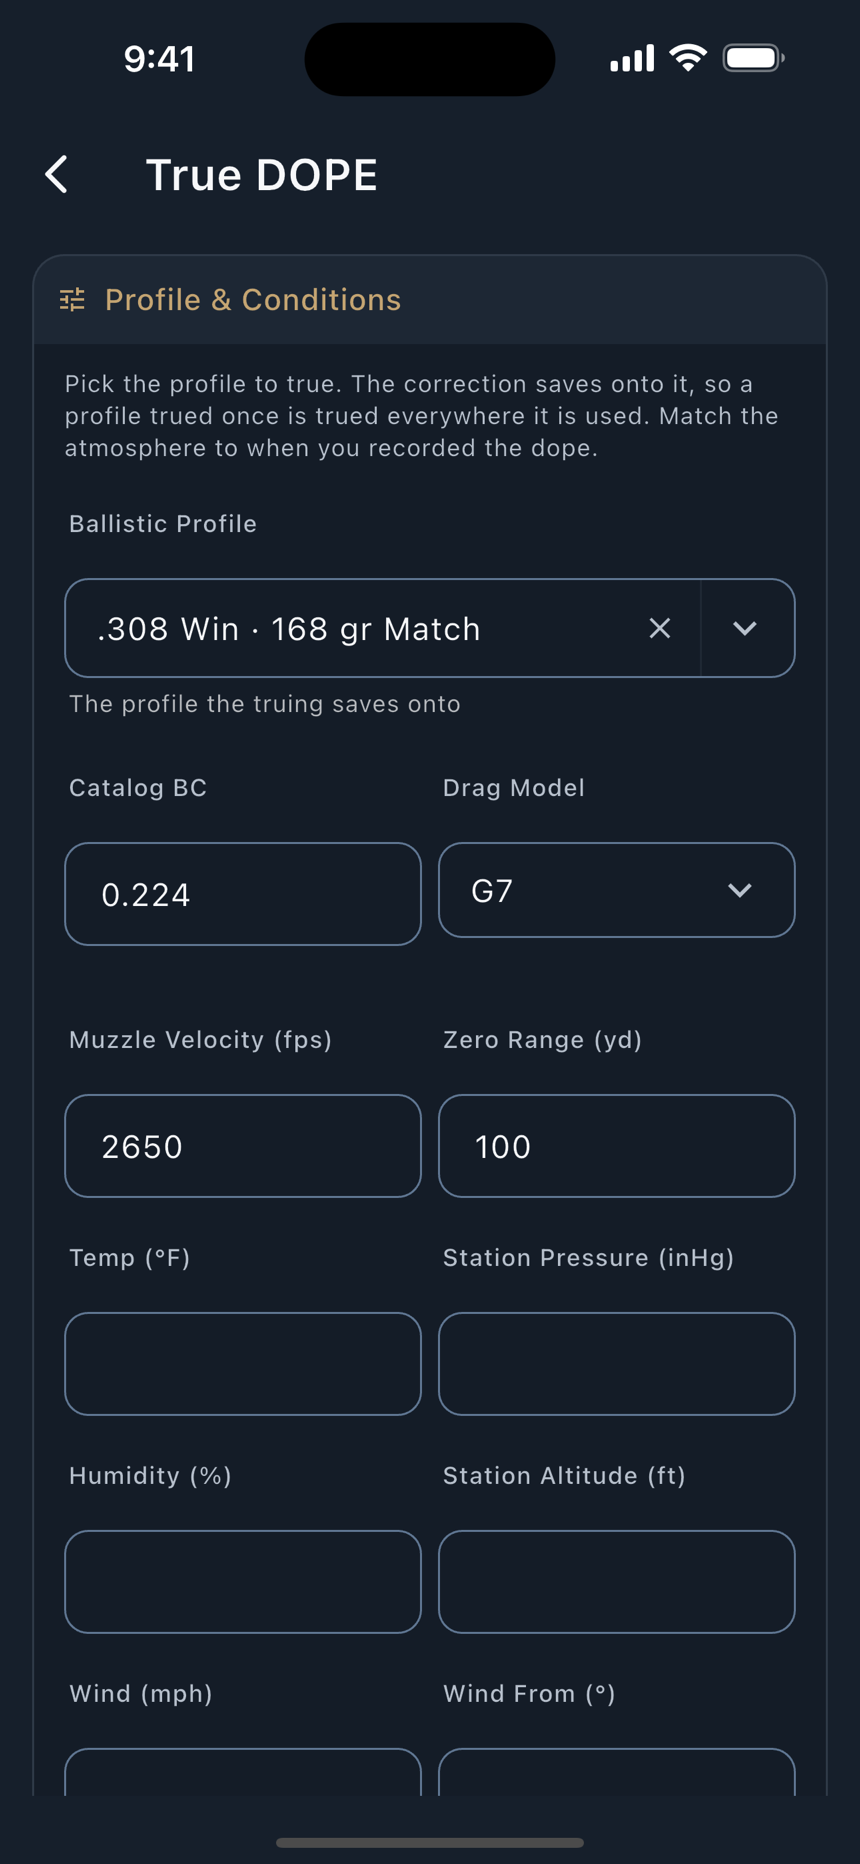
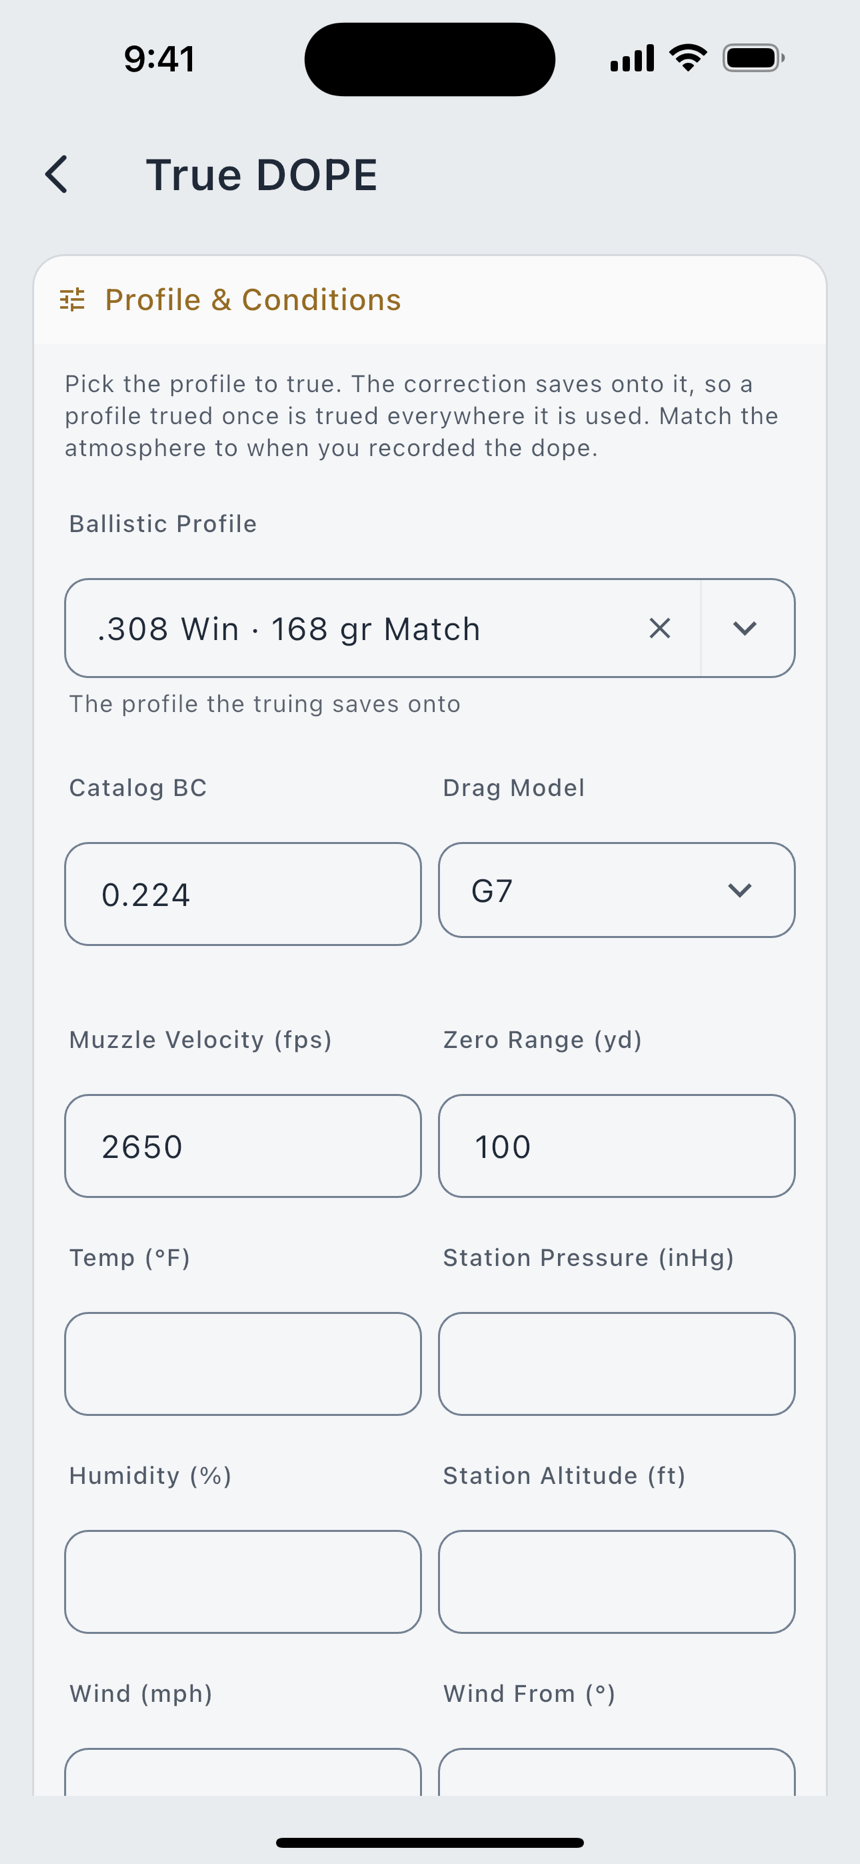
Free Truing corrects the model to what your rifle actually did. Open True DOPE, enter observations you took at known ranges (the drop you actually held, or measured downrange velocities) and the fit adjusts one axis. You pick one axis per session; the recommended one is preselected from your farthest observation.
| Axis | What it corrects | When to use it |
|---|---|---|
| Muzzle Velocity | The launch speed the whole solve starts from. The published BC and drag curve stay untouched. | Your dope is off by a consistent amount across all ranges, and your farthest observation is still solidly supersonic. |
| Drag Scale | One reversible factor on the whole drag curve. 1.000 means the published drag matched your dope; the published BC is never changed. | Your dope matches up close and drifts off at the far end. True velocity first if you can. |
| DSF Table | A drag factor per Mach band instead of one number for the whole flight. Bands your shots never reached stay at 1.000. | The error is not proportional: dead-on near, increasingly off toward transonic. Needs shots reaching at least two Mach bands. |
A trued profile carries a Trued chip on the Solution view, and every correction is reversible: Clear Muzzle Velocity, Clear Drag Scale and Clear DSF Table each undo one axis and leave the rest alone.
The Hit Probability Map
Pro The Hit Probability Map plots your odds of a first-round hit across distance, given how well you and the rifle actually shoot. It reads a Shooter Capability group size, and it starts you at 1.0 MOA with the source stated on the card: Starting with a 1.0 MOA group. Enter yours to refine.
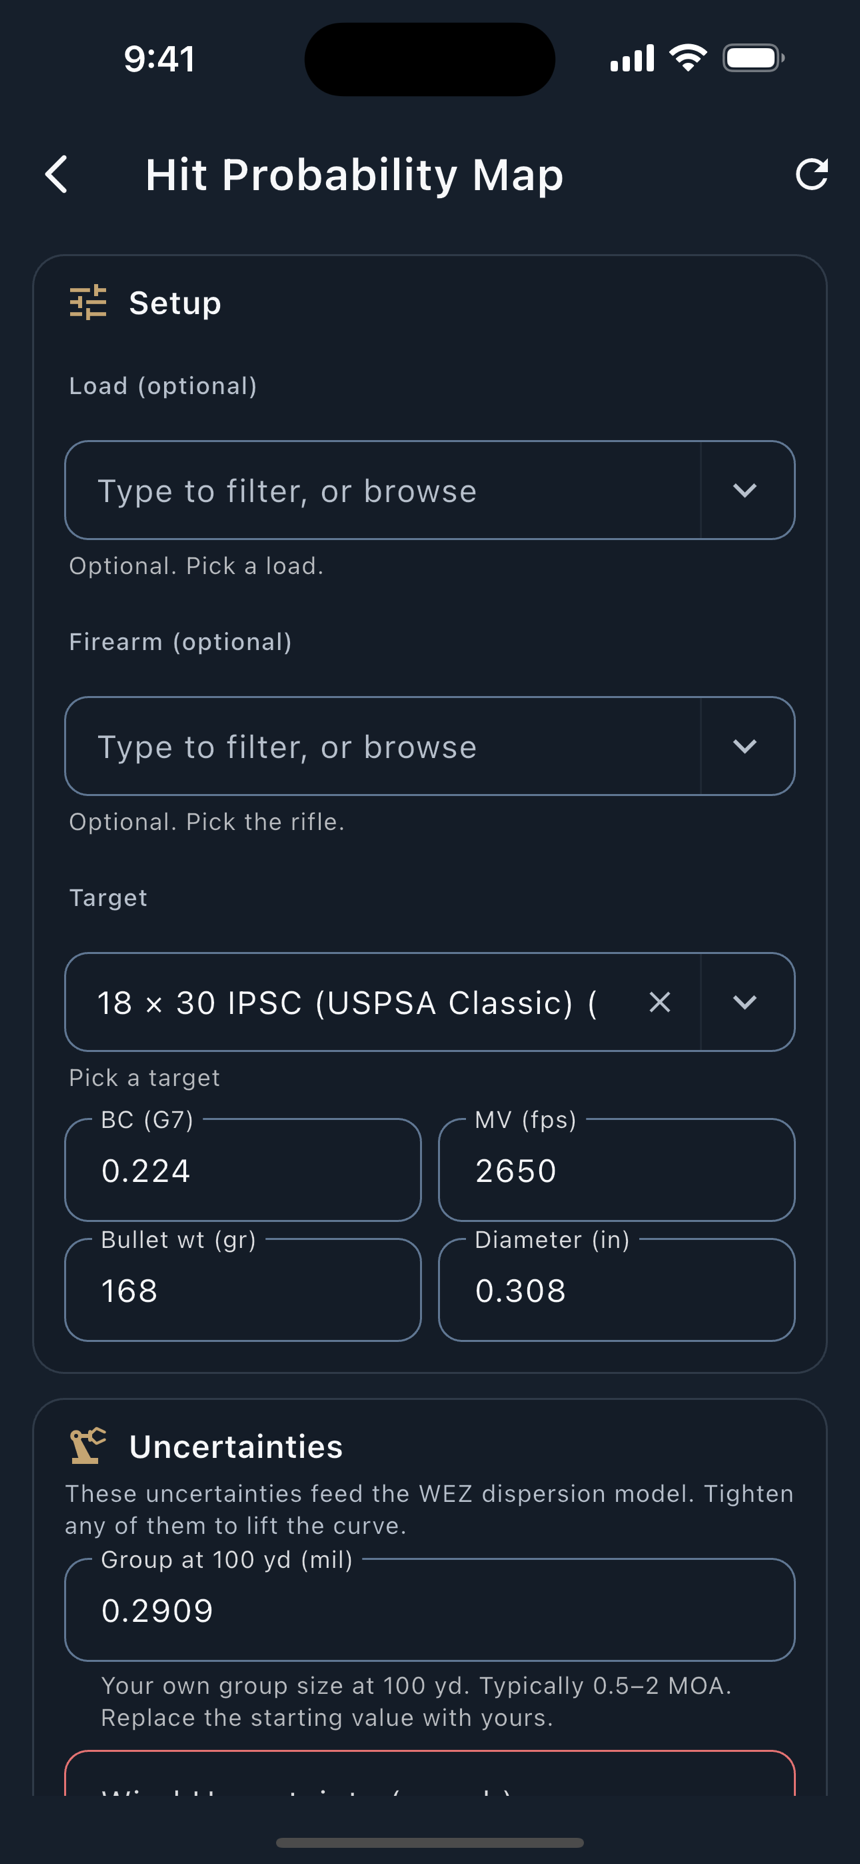
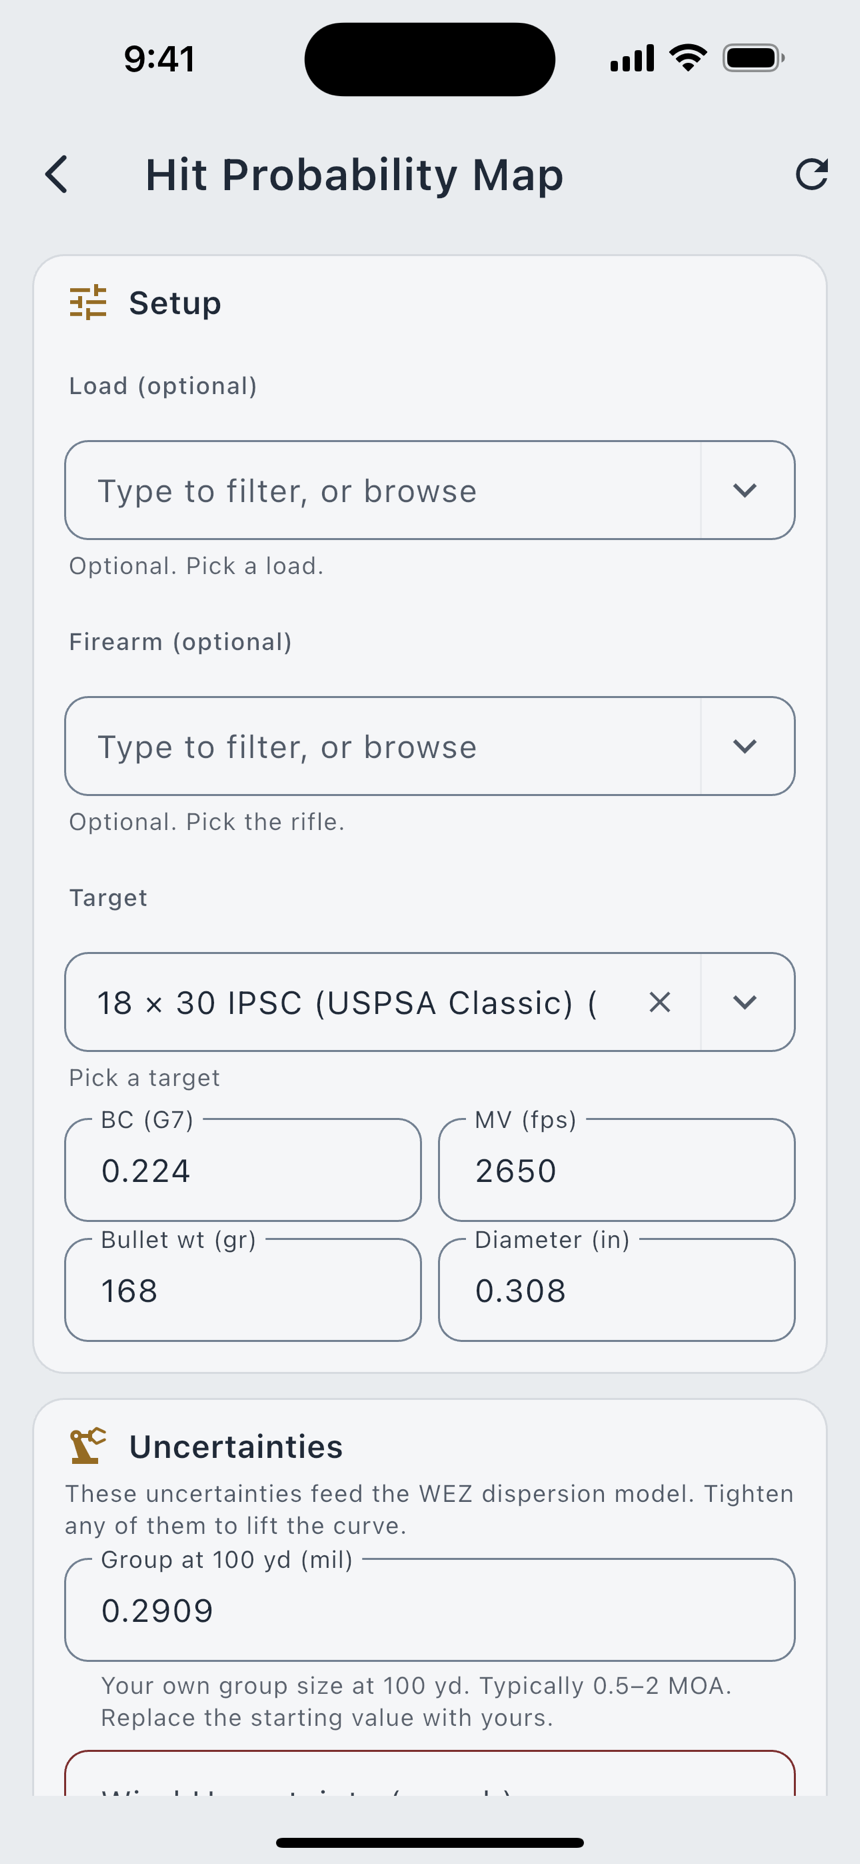
That starting number is a place to begin your analysis from, not an assumption about your rifle. The disclosure stays on screen for as long as the default is in play, and it disappears the moment the number is yours. It is never written into your profile.
Confidence, limits, and what it refuses to guess
Every solution carries a confidence pill, and it is atmosphere-aware rather than a fixed distance:
Where those bands fall is a property of your load, not of the app. A heavy, high-BC magnum stays confident far past the range where a lighter bullet has already gone transonic, and the flag moves with the load rather than sitting at a fixed yardage. Beside the pill sits a plain-language reach line saying where this load crosses those bands, and a range past the end of the solved arc is named as such ("past LoadOut's modeled range for this load") instead of being extrapolated.
Past 2,500 yd a second, separate advisory applies: beyond that distance a solution is solver-projected rather than checked against a published reference trajectory, and Range Day, the Scope View, Match Day stages and any spoken answer all say so on the solution. The hard ceiling is 3,500 yd; a typed range above it is refused outright and you are told the range did not move, rather than being silently clamped to a number you never asked for.
When a solution cannot be computed, the page says which input is missing, by name and in your units. Still needed: is followed by the actual list: Bullet Weight, Bullet Diameter, Ballistic Coefficient, Muzzle Velocity, Zero Range and Sight Height. Where a catalog ballistic coefficient was withdrawn for want of a verifiable source, the list says that too.
Open the page with nothing entered and both holds read as dashes. Nothing is defaulted for you: no bullet, no velocity, no weather. If the app has not been told, it says so instead of showing you a number.